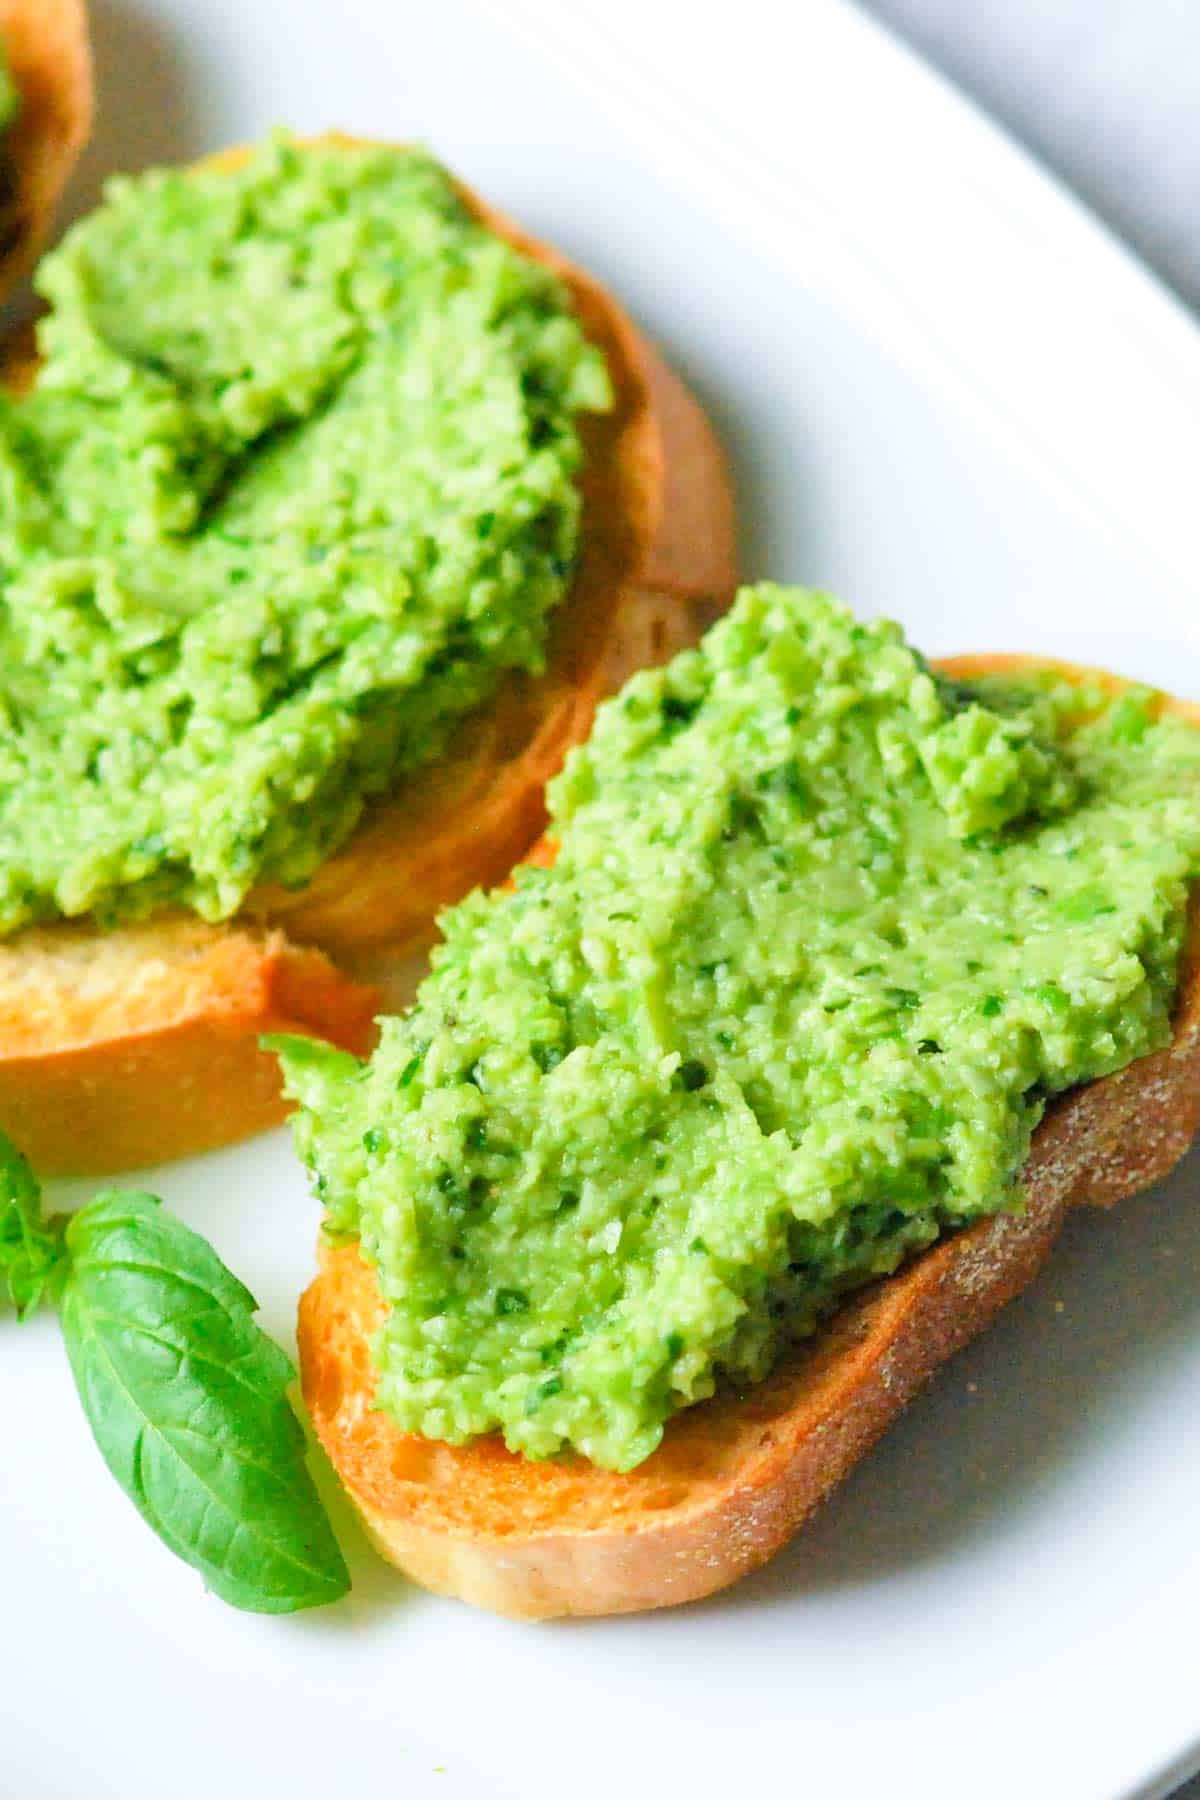
If you’ve been following us for some time, you might have noticed our love of toast and bruschetta. This easy recipe spreads a mixture of edamame, peas and basil onto toasted bread slices. Jump to the Edamame and Pea Bruschetta Recipe or read on to see our tips for making it.
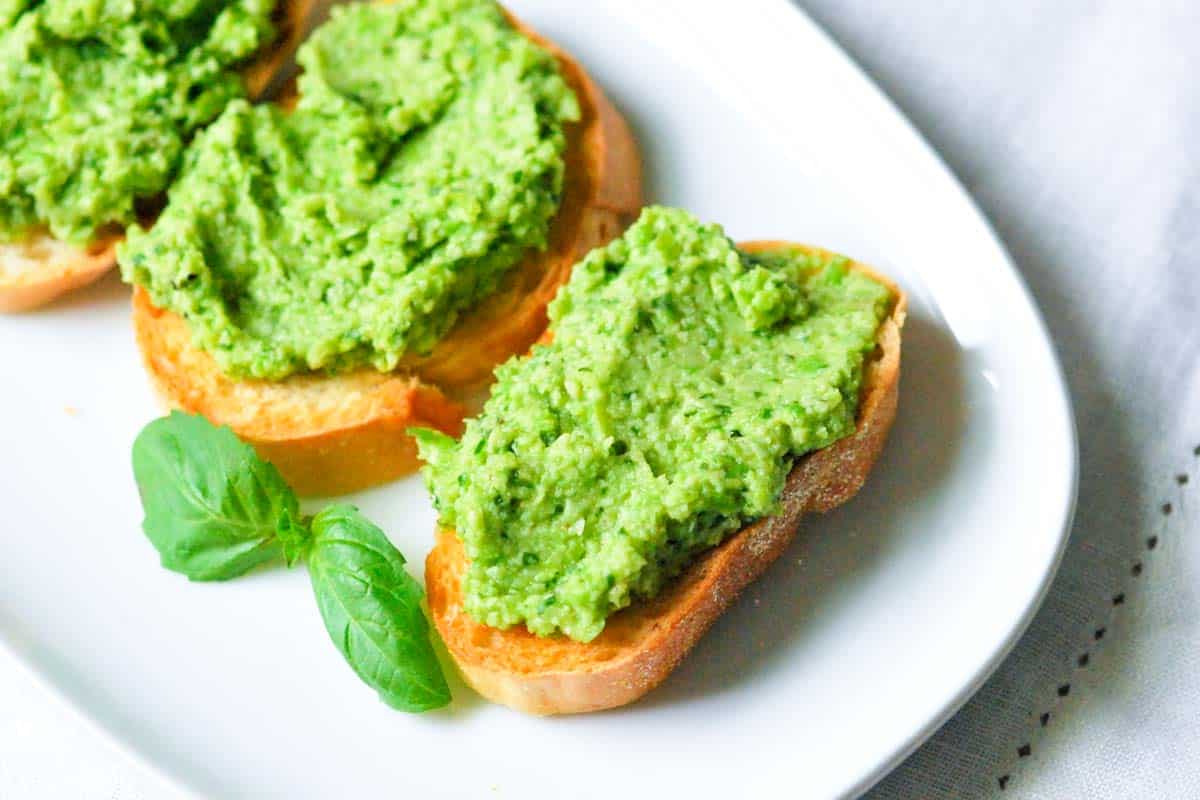
This recipe came out of an obnoxious amount of basil in our kitchen. We didn’t have any tomatoes and didn’t need anymore basil pesto in the fridge. Along with the basil, we had edamame and peas in the freezer. So this ultra green edamame and pea spread was born.
It’s packed with flavor thanks to the basil, garlic, scallions, olive oil and parmesan cheese. We generously spread it over toast, but this would make a nice pasta sauce if you were to thin it out a little with hot pasta water when tossing with the pasta. We do this for our kale pesto recipe, too.
You might also enjoy our Spicy Garlic Ginger Edamame recipe.
Recipe updated, originally posted June 2010. Since posting this in 2010, we have tweaked the recipe to be more clear. – Adam and Joanne
Edamame and Pea Bruschetta Recipe
- PREP
- COOK
- TOTAL
Spread this onto toasted bread or thin out with hot pasta water and use as a pasta sauce just as you would pesto.
You Will Need
1 cup frozen shelled edamame (soybean)
1/2 cup frozen peas
1 garlic clove, minced
2 scallions, chopped
1/4 cup packed basil leaves
1/4 cup extra-virgin olive oil
1/4 cup grated parmesan cheese
Salt and fresh ground black pepper
Baguette, cut into slices and toasted
Directions
1Bring a medium saucepan of water to a boil, add about 1/2 tablespoon of salt and the edamame, cook for 4 minutes then add the peas and cook for another minute.
2In the meantime, prepare a large bowl of fresh ice water to be used to cool down the edamame and peas when they finish cooking.
3Use a slotted spoon to transfer the edamame and peas to the ice bath. Once cooled, drain and set aside.
4Pulse the garlic and scallions a few times in a food processor. Add the basil leaves, edamame and peas then pulse until the mixture is chopped up into very small pieces, 3 to 4 times. With the processor running, stream the olive oil slowly into the mixture until everything comes together — it should look like a thick pesto.
5Transfer to a bowl then stir in the cheese, a pinch of salt and freshly ground pepper.
6Use a griddle or oven to toast slices of the baguette, smear about a tablespoon onto each slice and serve.


After coming across an edamame spread at my local Organic Marketplace that sent my taste-buds on a happy vacation from hummus, I was so disappointed to later visit the store and discover there was a new buyer who had no idea what edamame spread had once graced the shelves…nor could he manage to find one to stock. (Gasp…Sob…Gasp)
Today I had a hankering for that edamame spread and went in search of options when I happened upon this little “gem” of a recipe.
I am pleased to say I just prepared and sat down to enjoy the “Edamame & Pea Bruschetta”. ‘ENJOY’ being the operative word. Even my 3 year old daughter is making the sounds of approval (she tends to hum while she eats when she really likes something)!!!
It reminds of a “Lemon Pea Brodetto” recipe I follow when I prepare salmon. I wound up adding some Parmesan, red pepper flakes, fresh spinach and fresh-squeezed lemon juice to the mixture in the food processor…a clever way to get even more green in my child’s diet with a little magic. So chock full of nutrients! I only hope it freezes well because I made more than we need at one sitting so I can incorporate it into a number of other dishes. Not to mention packing it for play dates and picnics. It is sure to replace other condiments on sandwiches and wraps! :O)
I’m grateful for your flavorful concoction! You REALLY have no idea how long I’ve been searching. This stuff is genuinely good enough to make in batches and sell to your local organic stores, deli’s/sandwich shops or at the Farmer’s Market!
Nom Nom Mmmm Nom Mmmm Nom Nom
Cheers!
Your neighbor to the South
Sonja
Sonja,
Thank you for such a thoughtful comment! Your additions sound lovely and we are so glad you and you family enjoyed the recipe!
Joanne and Adam
Back with an update – made this last weekend and I’ve been eating it on EVERYTHING all week. It’s really really good. My favorite so far is on pasta with chickpeas and parm grated on top – definitely works as a pesto. Thanks again!
Really glad you enjoyed it. It means a lot to hear feedback especially since it was successfully 🙂
Ohhhhh Yum!!! Two of my most favorite things to eat!!! Thanks for posting such an amazing recipe.
This sounds seriously incredible. These are all of my favorite flavors and I love things that are easy and spreadable and yummy. I’ll be making this as soon as I get to the grocery store again, thanks!
Awesome Katie, let us know how it works out for you!
We had another idea … we were wondering if incorporating this into some hot pasta and a bit of pasta water (to help loosen the mixture) – kinda like what you would do with pesto – would work out… next time we make this, we might give it a try.
I took this to a party over the weekend and it was a HUGE hit with everyone. A double batch was gobbled up in no time.
This was freaking fantastic. I now need to write a letter of apology to edamame for all the awful things I said about it after my hummus fail. Cooking it was absolutely the key to getting the texture smoother.
Wendi- We are SO happy you enjoyed it!!!
I can’t wait to try this recipe out. It sounds wonderful and right up my alley! I have a couple of pasta recipes that were born out of what was left over or what we needed to use up. It amazes my how they quickly become my favorites!
Carrie, thanks so much for the comment 🙂 We totally agree, whenever we are forced to use of leftovers/bit and bobs from our pantry and fridge it forces us to be a bit more creative – sometimes, it fails miserably, but often we find a new favorite!
Hi Inspired Taste!
Not only a great recipe, but the picture looks amazing! I work with Seapoint Farms, the largest manufacturer and distributer of edamame in the country. It’s always great to come across recipes like that (that I am passing along:). For posting about edamame you have been entered into our monthly drawing for a case of Dry Roasted Edamame. Cook on!
David, Thanks!!!
Have y’all been peeking in my fridge and freezer or what? Because how else could you have known that I have fresh peas and frozen edamame that need to be used?
I’m curious to see if cooking the soybeans will help the final texture of the topping? I’ve tried making edamame hummus before and was terribly disappointed with the texture. Maybe a quick cook is the answer.
Wendi, let us know what you think about the texture – we found cooking the edamame allowed us to incorporate it into the spread a bit easier, but we were careful not to overcook it, which left us with a nice texture (not completely smooth) in the end. Thanks!!