These homemade fudgy brownies are so much better than the box! Since we use cocoa powder, they are easy and come together fast. I bet you already have everything you need to make our brownie recipe in your kitchen right now!
Watch the Video
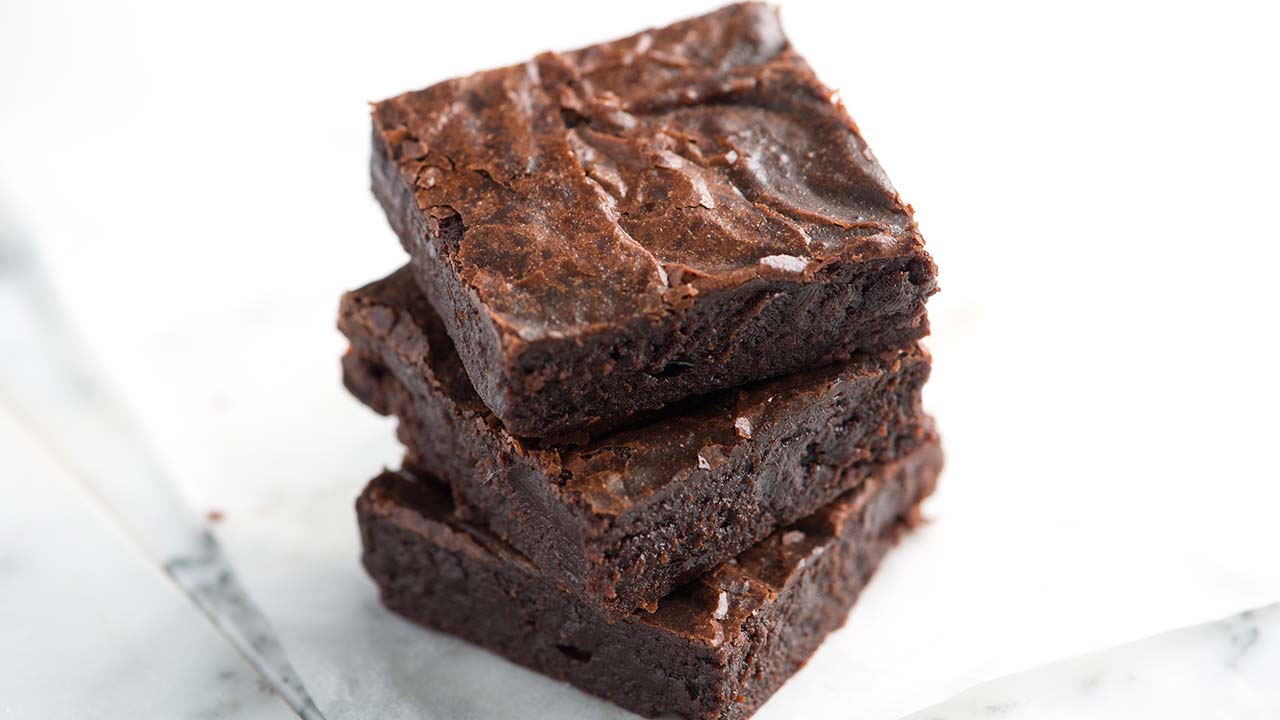
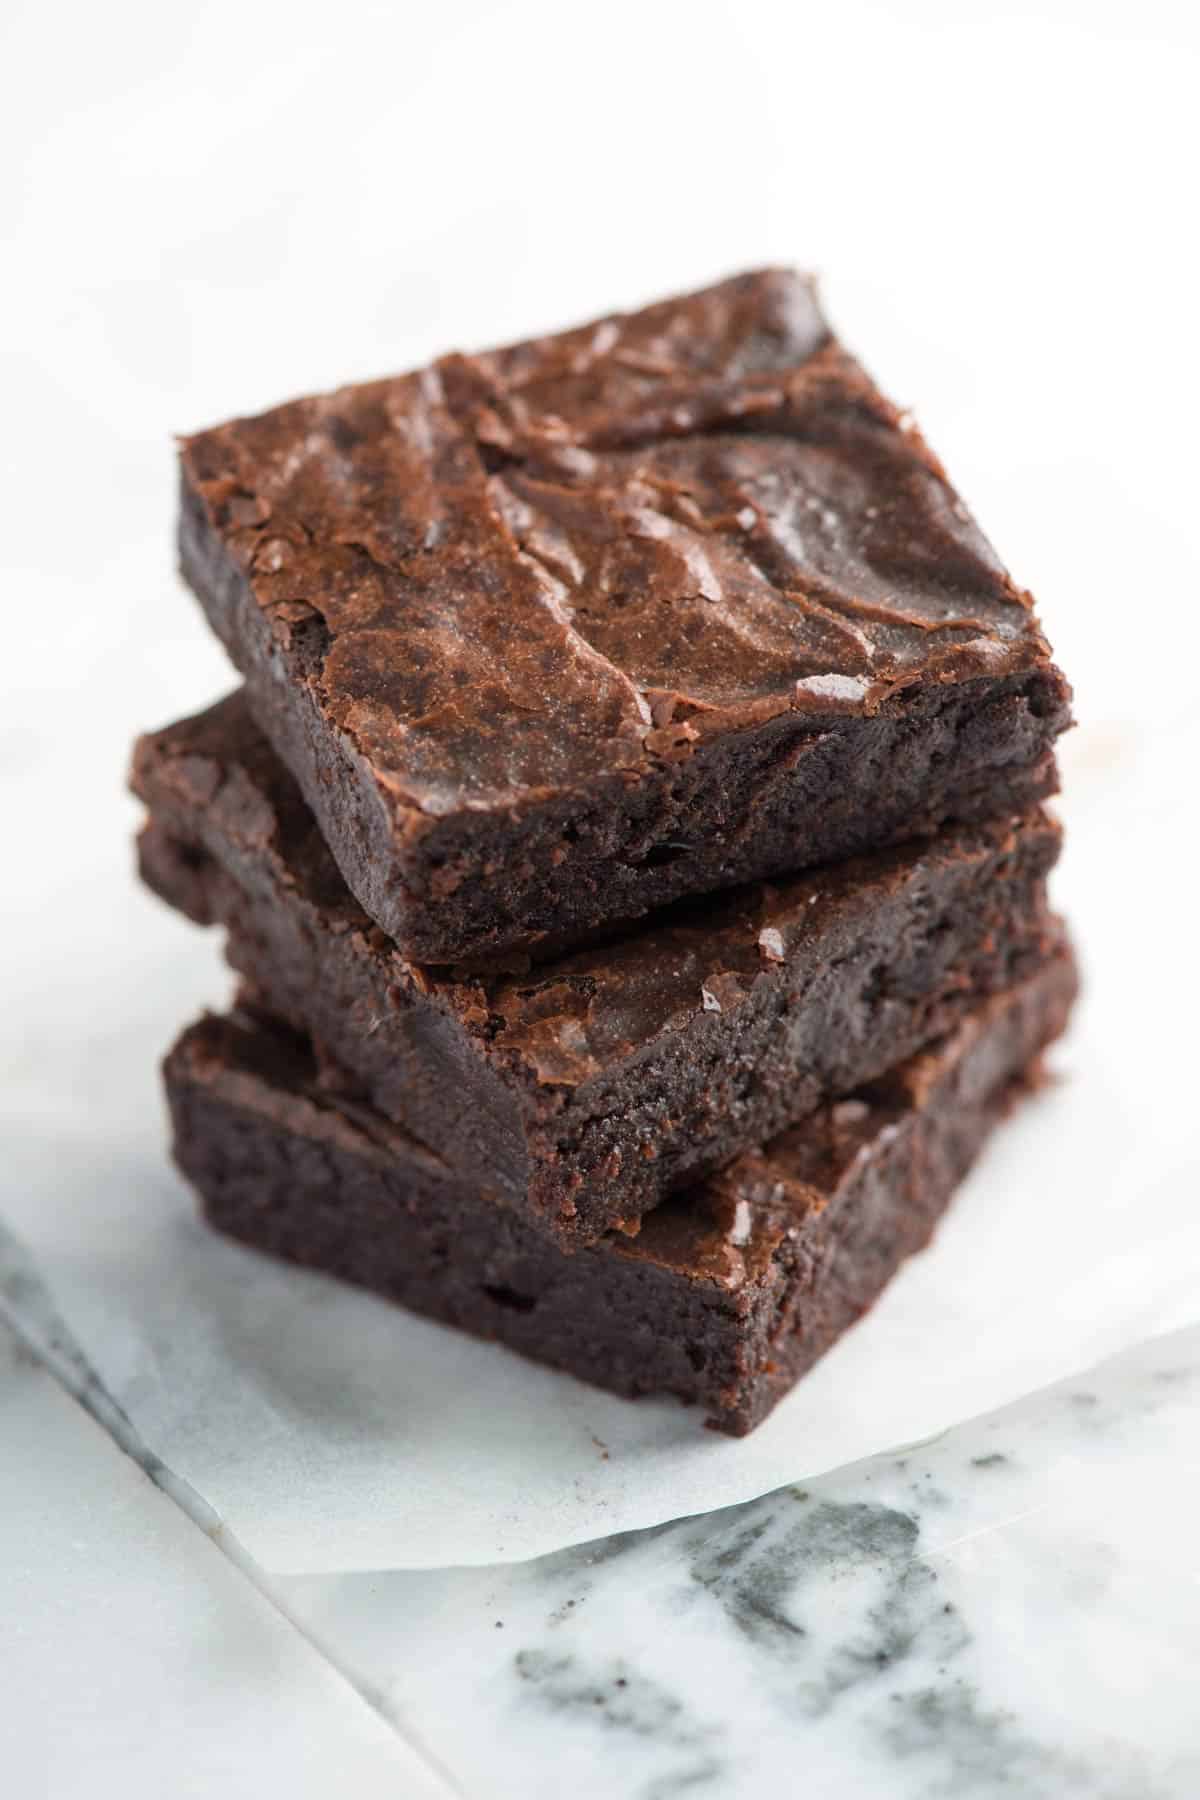
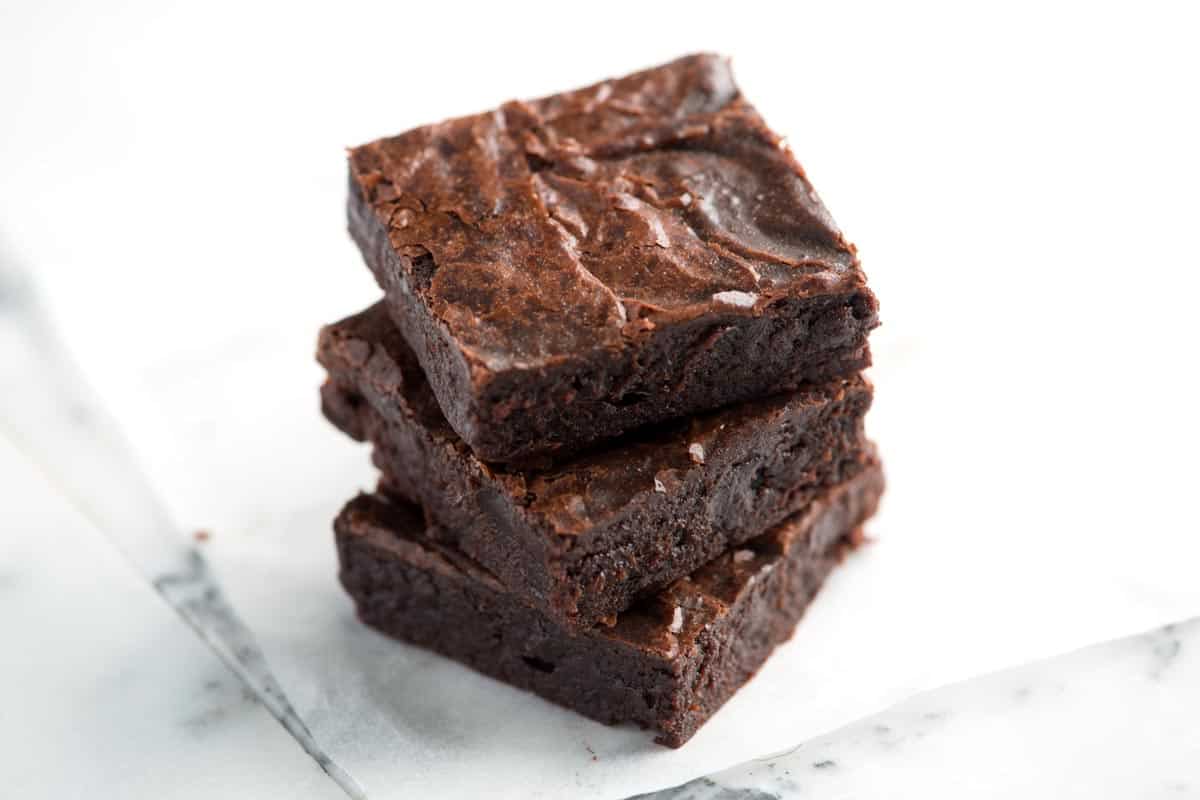
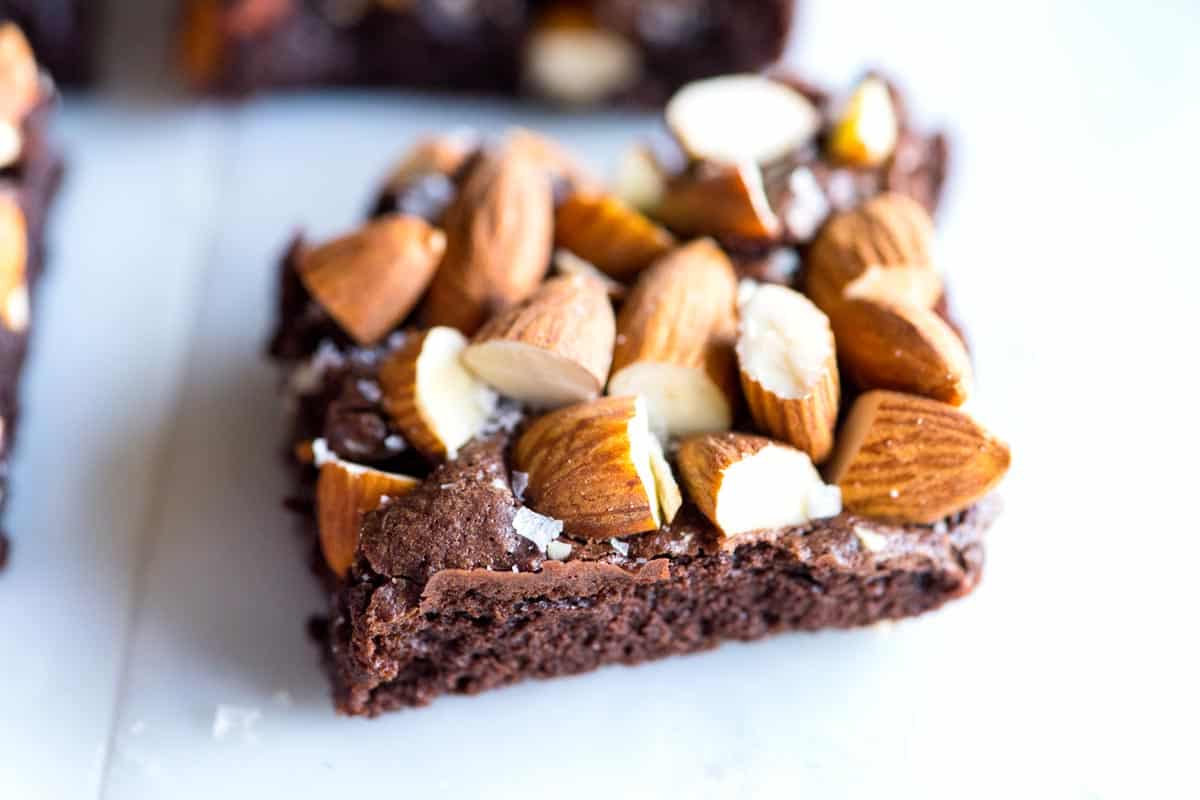
This recipe makes some of the best brownies I’ve ever made (that’s true for our readers, too). They are quick to make from scratch, don’t need special equipment, and have the most wonderful fudgy middles with crinkly, shiny tops.
These brownies taste like rich dark chocolate, which I love. See this easy brownie recipe for slightly sweeter brownies that bake to be a bit thicker with chewy edges.
Key Ingredients
- Cocoa powder: I love cocoa brownies! It’s what makes our brownies so delicious. Use any unsweetened cocoa powder in this recipe. I’ve used natural, Dutch-processed, and even raw cacao in this recipe. For a chocolate flavor similar to Oreo cookies, try Dutch cocoa.
- Butter: We use 100% butter in the recipe. If you use salted butter, leave out the salt called for in our recipe below.
- Granulated sugar: Helps with our shiny top, and balances the bitterness of unsweetened cocoa powder. Brown sugar works in our recipe, but you might lose the crinkly top.
- Eggs add richness and provide structure to the brownies.
- All-purpose flour: These easy brownies need a small amount of flour for structure. We want extra fudgy brownies, so keeping the flour to a minimum helps. For gluten-free, read through the comments (many readers have used a gluten-free flour blend like the Bob’s Red Mill in this recipe).
How to Make the Best Brownies
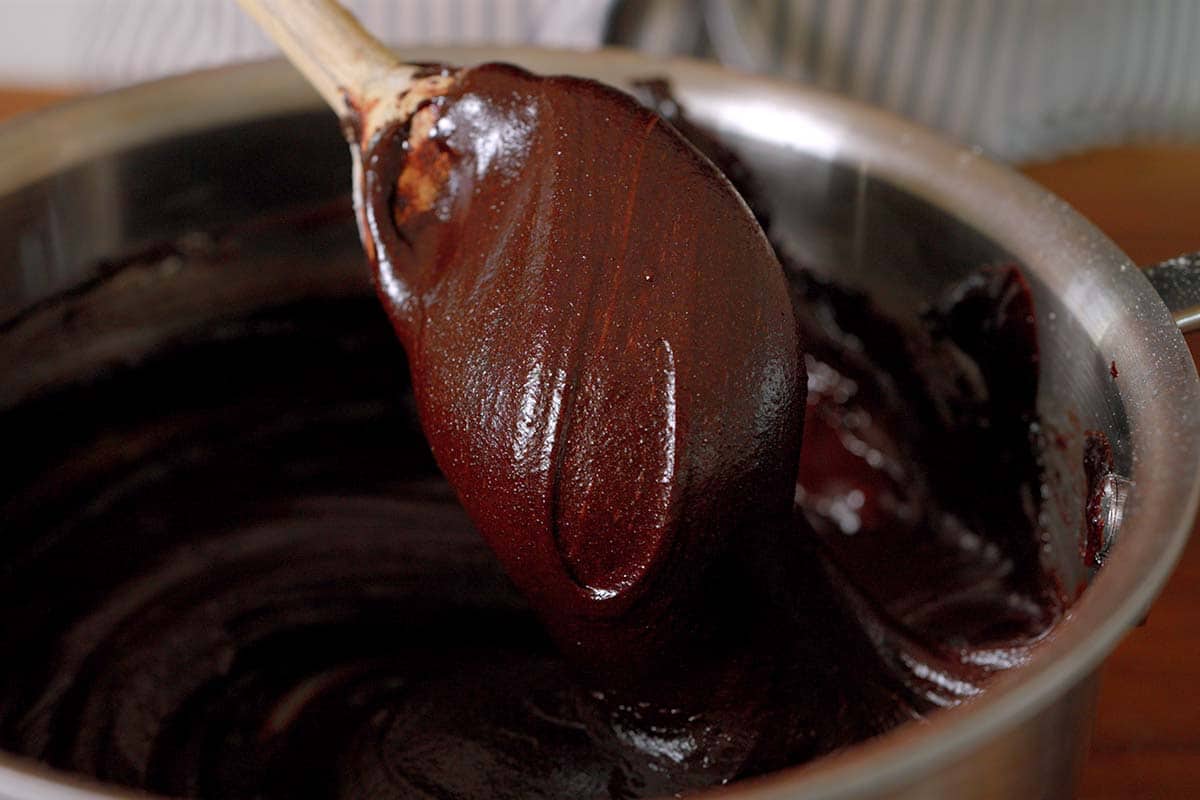
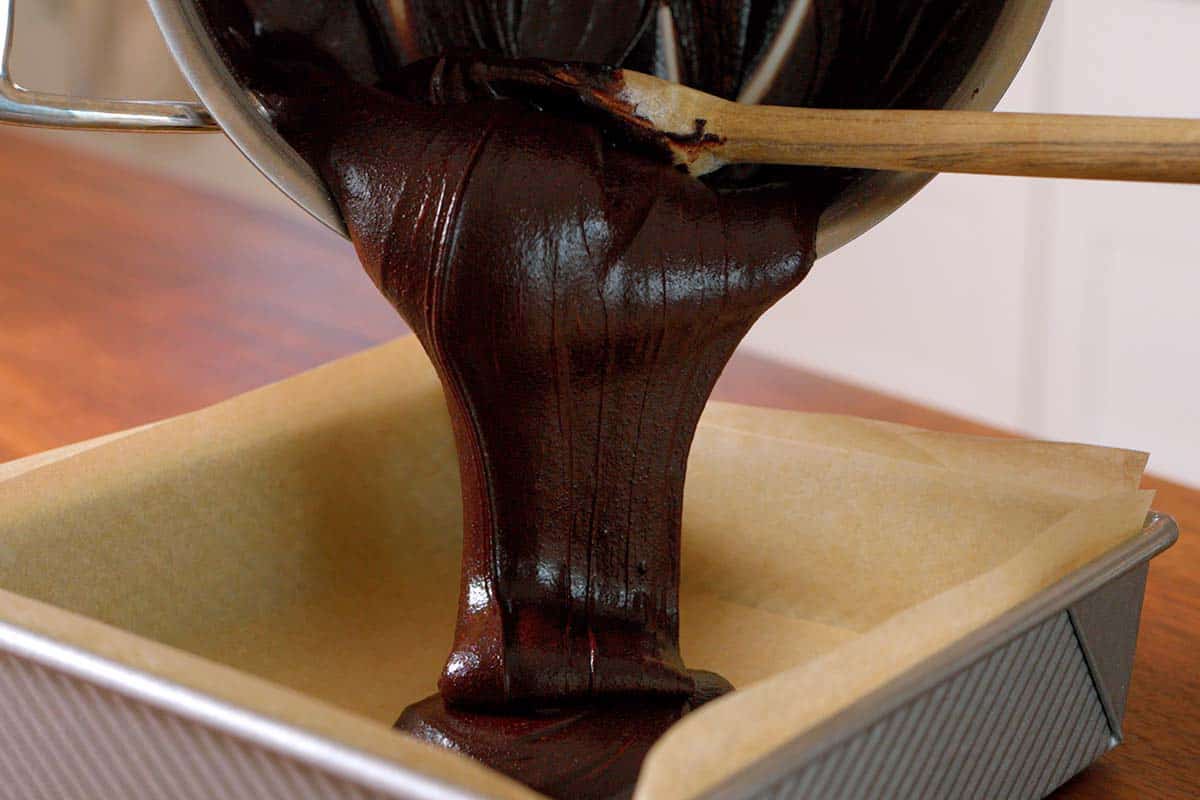
We’re going to make our brownie batter in a saucepan. Easy and less dishes!
The trick to the best brownies is to combine HOT butter with sugar and cocoa powder. I melt my butter in a saucepan and then immediately stir in sugar, cocoa powder, vanilla extract, and salt. Then, after a minute or two of letting it cool, I add my eggs one at a time and then the flour.
As the brownies bake, this heated sugar moves up to the top of the brownies when they are in the oven, which is how they get that shiny top. The hot butter also blooms the cocoa powder, making our brownies taste better.
This brownie batter is thick. I usually tell you to avoid over-mixing batters, but that’s not the case with these cocoa brownies. The same goes for blondies batter. Here’s our blondies recipe, which are like brownies, but made with a vanilla batter.
I bake my brownies in a 325°F oven until the edges are set and the middle looks slightly underdone. See more tips below and our video for reference on what the baked brownies should look like.
Note: This brownies recipe originally used a double-boiler, but we’ve simplified the method to make it easier and quicker, using fewer dishes while maintaining the same results. For previous readers who love the original method, see the tips section of the recipe below.
How to Tell When Brownies are Done
Telling when brownies are ready to come out of the oven can be a little tricky, but don’t worry, with my tips you’ll be a brownie pro in no time! Watch our video for some visual cues.
- Use a timer. These brownies take 20 to 30 minutes, so set the timer for 20 minutes, and go from there. This way, you can watch them closely towards the end of cooking.
- Use a toothpick. Stick it into the center of the pan and pull it out. If there is a lot of wet batter on the toothpick, they need more time. If you only see a small amount of wet batter and the hole where you inserted the toothpick is visible, they are finished baking. If there’s nothing on the toothpick, you might have overbaked them, so definitely take them out of the oven.
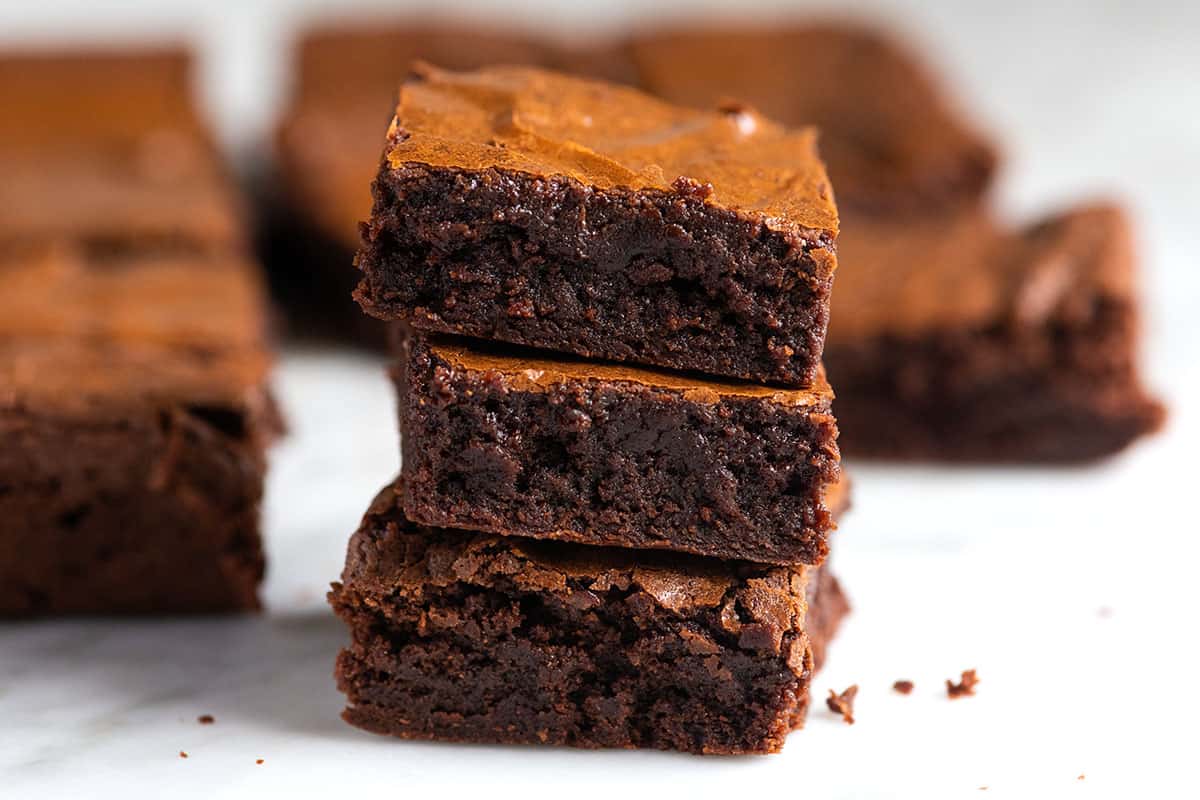
- Use your eyes. Perfectly baked brownies will look a little underbaked in the middle. As the brownies cool, they set up nicely. So when the edges look dry, and the center slightly underdone, take them out of the oven. Even if it ends up that you took them out a minute early, an underbaked square in the middle of the pan is much better than the whole pan being overbaked. Plus, I’d happily eat the underbaked middle if I were at your house.
Why Did My Brownies Take Longer to Bake?
After sharing this brownie recipe years ago, some readers have found that they needed to bake their batch for 5 to 10 minutes more than we suggest in the recipe. These take 20 to 25 minutes in our oven. Still, ovens vary, so use our tips above for telling when your brownies are ready to come out of the oven. And remember, brownies continue to cook and firm up as they cool, so don’t be afraid to take your brownies out of the oven with the center still a little underdone.
Storing Brownies
Keep your baked brownies in an airtight container at room temperature for 2 to 3 days. Or store them in the fridge for 2 weeks. You can also freeze brownies for up to 3 months! I like wrapping them individually so I can take one or two out of the freezer.
Ridiculously Fudgy Brownies
- PREP
- COOK
- TOTAL
Say hello to our favorite brownies recipe from scratch. You only need a saucepan and spoon to make these brownies. Mixing the sugar and cocoa powder into the hot melted butter helps get that shiny, crinkly top we all love.
If you reach for darker chocolate over milk chocolate, these bittersweet brownies are for you. Use natural or Dutch-process cocoa powder. See the tips below the recipe for guidance on choosing the best cocoa powder for your brownies. Try this brownie recipe for less bittersweet brownies with chewy edges.
Watch Us Make the Recipe
You Will Need
10 tablespoons (145g) unsalted butter
1 ¼ cups (250g) granulated sugar
3/4 cup + 2 tablespoons (75g) unsweetened cocoa powder, spooned and leveled, see notes
1 teaspoon vanilla extract
1/4 teaspoon fine sea salt
2 large cold eggs
1/2 cup (65g) all-purpose flour, spooned and leveled, see notes
2/3 cup (80g) chopped walnuts, pecans, or chocolate chips, optional
Directions
- Prepare Batter
1Position an oven rack in the middle of the oven and heat to 325°F (162°C). Line the bottom and sides of an 8-inch square baking pan with parchment paper or aluminum foil, leaving an overhang on opposite sides to help remove the baked brownies from the pan.
2Add the butter to a medium saucepan. Place over medium-low heat and cook until the butter melts completely, then turn off the heat. Stay close, and do not let it brown.
3While the butter is hot, stir in the sugar, cocoa powder, vanilla, and salt. Stir well until blended. Don’t worry if the batter looks gritty. Once you add the eggs, the brownie batter will become smooth.
4Set the saucepan aside to cool until the mixture is warm, not hot — 5 to 10 minutes. Test the temperature by touching the batter, it should be comfortable to hold without feeling hot.
5Add the cold eggs, one at a time, stirring vigorously after each egg.
6When the batter looks thick and well blended, add the flour. Use a spoon to beat the flour into the batter until it is very thick and pulls away from the sides of the bowl. I use a wooden spoon or spatula and beat for 40 to 50 strokes (see video for reference).
7Stir in nuts or chocolate chips (optional).
- Bake Brownies
1Spread the thick brownie batter evenly in the prepared pan — it can be hard to spread because it is so thick. Do your best to push the batter to the corners and even out the top.
2Bake the brownies until the edges look dry and the middle is slightly underbaked, 20 to 30 minutes. A toothpick plunged into the center should emerge somewhat moist with batter. As the brownies cool, they firm up but will always be moist and fudgy in the middle.
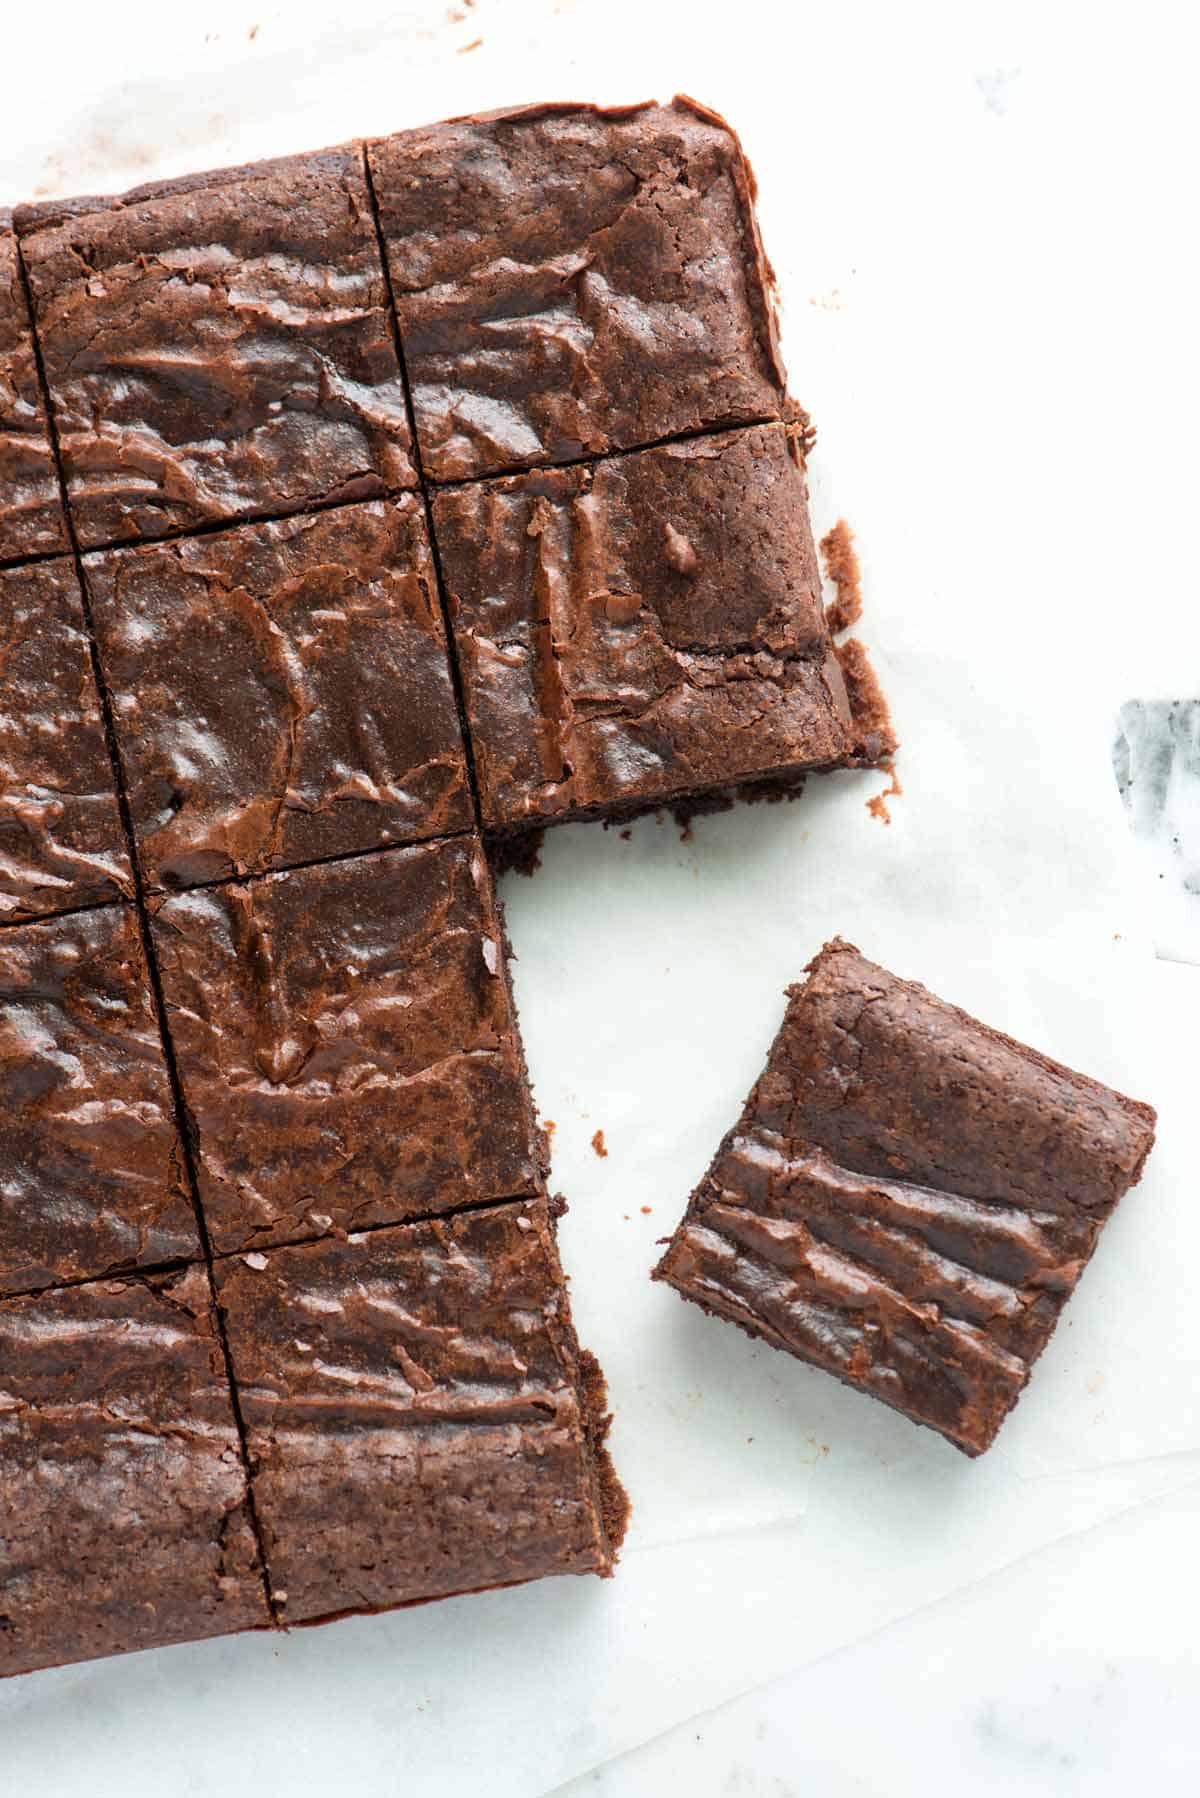
3Cool completely before removing the brownies from the pan — this step is essential and helps the brownies set. Cut into 16 squares. (Cooled brownies are much easier to cut. For clean edges, use a chef’s knife and wipe it clean after each slice. For guaranteed perfect edges, chill the brownies in the fridge for 1 to 2 hours before slicing.)
Adam and Joanne's Tips
- Baking pan: We prefer a metal 8-inch square pan. Ceramic and glass pans may affect bake time. Check on doneness 5 minutes early and every 5 minutes after that. If you double the recipe, a 9-inch by 13-inch rectangular pan is perfect, and the brownies will be slightly thicker.
- Cocoa powder: Use your favorite cocoa powder for this recipe. Try Dutch-process for a mellow, Oreo-like flavor or natural cocoa powder (like Ghiradelli or Guittard) for a richer, dark chocolate taste.
- Measuring: To ensure your brownies turn out perfectly, carefully measure the flour and cocoa powder. Either weigh them or use the “spoon and sweep” method: Fluff the flour/cocoa, spoon it into the measuring cup, then level off the top with a flat edge. See our video for a demonstration.
- Double-boiler method: If you prefer the original double-boiler method, place a heat-safe bowl with the butter, sugar, and cocoa powder over barely simmering water. Once melted, cool and continue as directed.
- Alice Medrich’s Cocoa Brownies inspired this brownie recipe. Medrich revolutionized brownie recipes years ago when she used cocoa powder instead of melted chocolate. This change allows for better control of ingredients, resulting in incredibly moist brownies with a perfectly fudgy center and a shiny, candy-like top.
- The nutrition facts provided below are estimates.
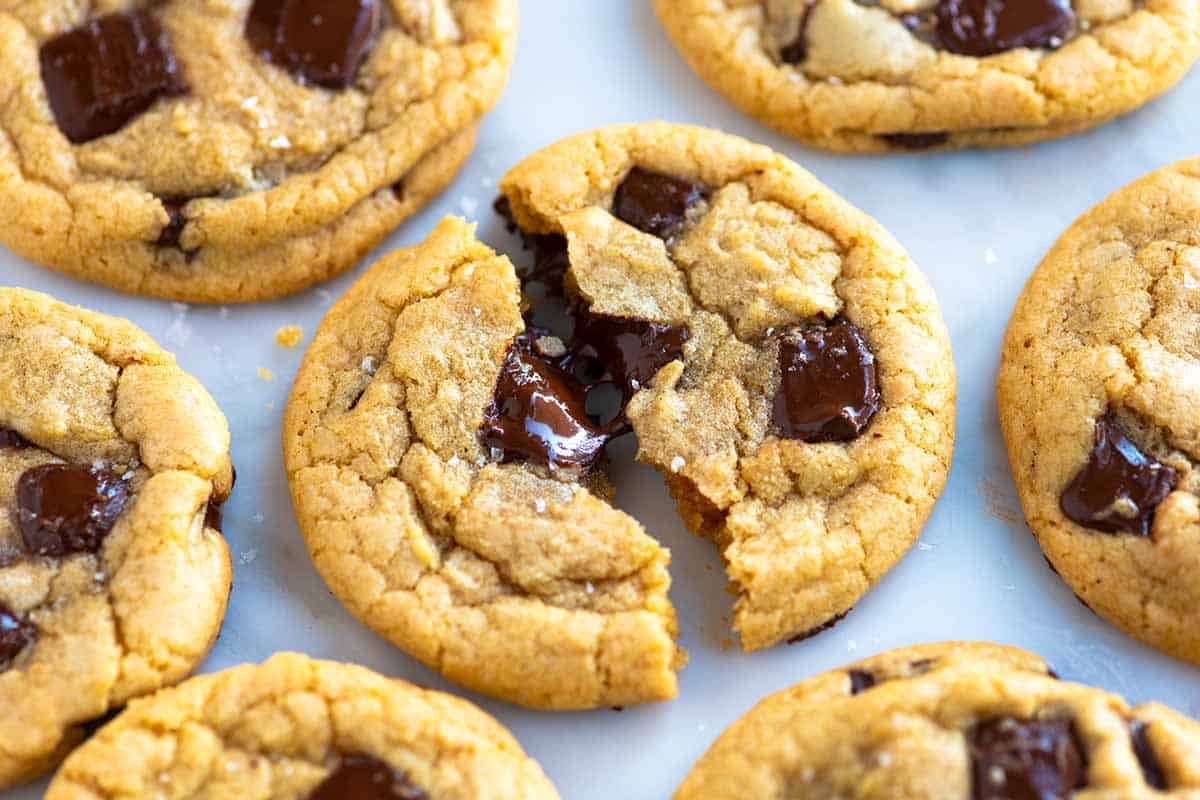
You May Also Like...


These are the BEST brownies I have ever made my entire life. I didn’t add any chocolate chips and they still came out fudgy and chocolatey. Amazing. Also I used self raising flour the second time and it came out delightful!
That’s great! I’m glad the self-rising flour worked well for you.
Simple and delicious.
Glad you enjoy them, Jonathan.
I needed a last minute dessert recipe with few ingredients. These brownies are so easy and delicious! I will definitely make these again. Thank you.
I have never made brownies from scratch, and because of sensitivity to vegetable oil I haven’t been able to enjoy the store bought mixes in a long time. I’m so glad I found this recipe. It’s definitely super fudge so I’ll try baking it longer next time but these are so rich and good. Be warned… make sure you have milk or ice cream on hand!
Really are the best brownies I have ever made and I love brownies.
Love it! Thanks for taking the time to come back and leave a review 🙂
We love them!!
The best brownies ever. I have been making them for a couple of years for special occasions and everybody loves them. Thank you so much for the recipe, I’m now known as the brownie maker of my family and friends.
Yay! I love that you were given that title 🙂
This has been my go to brownies ever since I stumbled upon your site. 10/10 in terms of texture and fudge. I was wondering though as mine always comes out a little flat. Can I swap the All purpose flour to a self rising flour?
Hi there, you can definitely try adding a bit of baking powder or yes, use self raising flour to see if it adds a bit of lift.
Easily the best brownies I’ve ever made! So gooey and fudge, just delicious and not too sweet because I made them with Hershey’s Special Dark Cocoa with 100% Cacao.
BEST.BROWNIES.EVER!
BEST BROWNIES EVER is high praise!! I love that you found your new go-to recipe.
Great brownies! My family loved them added a little extra chocolate chips to make v rich and turned out great!
I followed the exact recipe and instructions and it dry and crumbles and not very good i was disappointed
That’s too bad it was dry! Don’t worry, we can fix this. Next time, try baking it for a shorter period. The center should still look slightly underdone.
Made it GF and its my all time favourite..nobody can tell….topped with whole cashews or giant coconut flakes…note:: i needed extra spoonful of GF flour to get it perfect..thank you so much 🩵
That’s AMAZING! So happy to hear the GF adaptation turned out so well. Love the idea of whole cashews or coconut flakes for topping – delicious! Thanks for the note about the extra flour, super helpful for future bakers.
This was the BEST brownie ever! Easy recipe and was great in a brownie sundae!!
Fantastic recipe! Super easy to make!