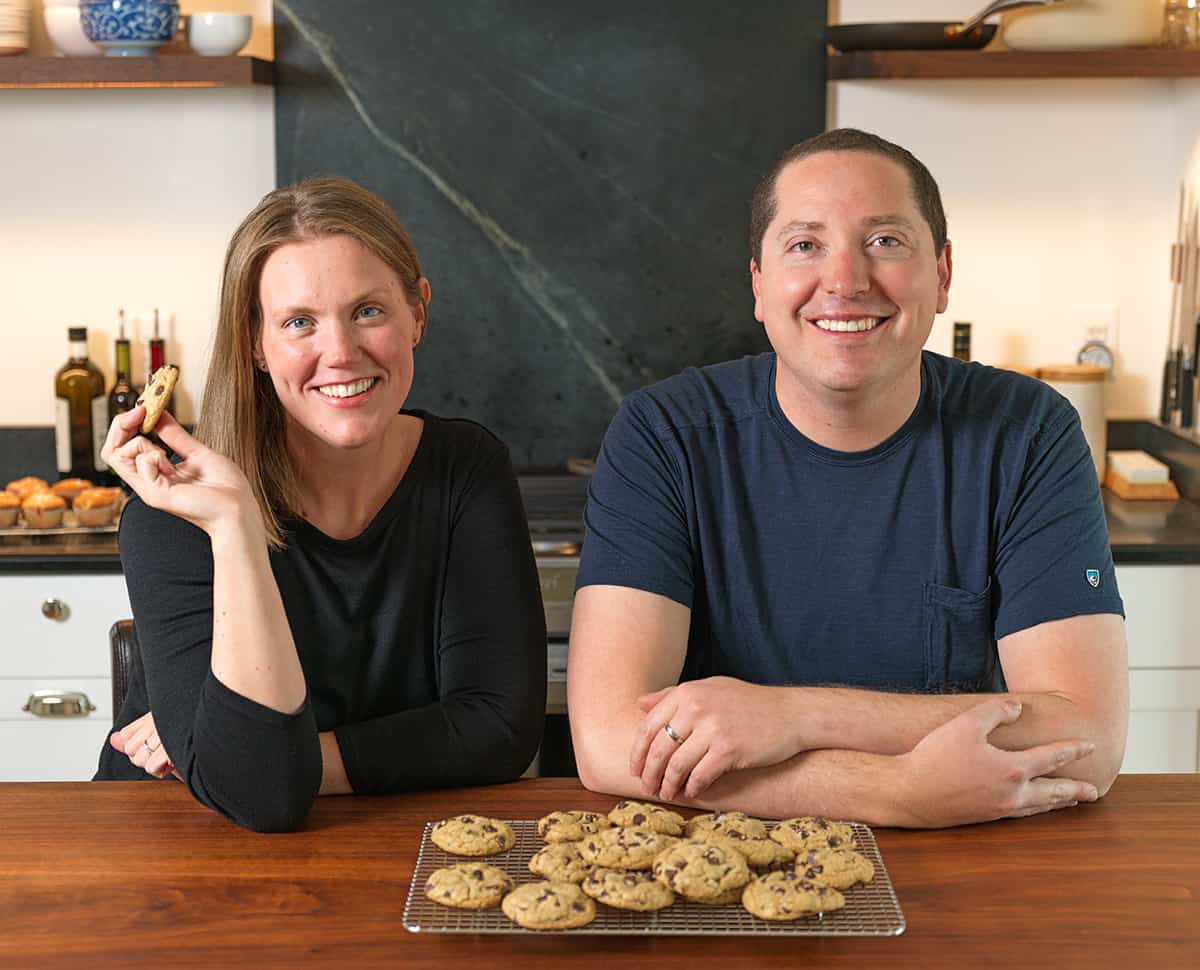
This past weekend, we had the opportunity to attend the Food Blog Forum in Orlando, FL. The flight home on Sunday was a mix of discussions around what we learned, how we wanted to move forward and the occasional snicker at the fact that Adam, who is over 6 feet, had his knees so jammed into the seat, that it seemed as though they were next to his ears.
If you are around us enough, you will probably catch Adam or I making the occasional complaint about sifting through our spam folder or keeping up on twitter, but most of the time, we are happy and proud with what we have created here. The opportunity to learn more and more is a blessing and quite frankly, if that were not possible, we would most likely get bored, become complacent and move on to another opportunity with the hope of better results. Fortunately, that is not the case. This blog has led us both down paths that we would never have found otherwise – I am in culinary school and Adam has followed a love of photography, found through this blog.

This weekend showed us just how much we love what we do AND how much we need to push to continue to grow in what we want to do. Attending the Food Blog Forum was, in itself, wonderful, but it is what we do with what we learned and who we met that counts in the end.

So, not surprisingly, the moment we landed, we started thinking about how to get better, what we needed to learn next and who could help us to do it. We contacted Helen of Tartelette to ask if she would be willing to mentor us in food styling and photography, she graciously said yes. In fact, the photos on this very post have come from that new and exciting relationship. In just a few days, we have learned more than we could have imagined, proving just how crucial it is to move forward and why we should always make it a purpose to learn.
Practice — that is the key in cooking and in photography. So, these rolls were just that, practice. The recipe comes right out of my baking textbook and the photos shown are part of the process to get our final shot. The rolls are time consuming, but are a great medium to learn the process of a simple yeast bread. In school, we make these constantly, each time getting closer to the soft, flavorful roll that it should be.

Here is how we got to shot ‘D,’ our personal favorite:
We started with ‘A’ and actually found a lot that we liked about it. First, the rolls look soft and freshly baked, the way the jam drips off the roll is pleasing as well. The stripes seemed to be a bit much to us and while we liked the use of the small spoon, a critique from Helen made us realize the jam underneath makes the plate and shot look a bit messy, maybe we could have just cleaned up the plate underneath the spoon to improve that, but as you see in the next few shots, we actually chose to place it towards the back of the shot. While the rolls are the star, seeing both tops seemed a bit much and finally, the bowl of jam in the back seemed heavy, Helen suggested that we try not to fill up the whole bowl next time, which should lighten the feel of the photograph.
In ‘B’, we switched the striped napkin for a white tablecloth. We also moved the spoon back to the bowl, which now sits on a small plate and removed one of the roll tops, thinking this would lighten the shot. This is nice, but seemed plain.
For ‘C’, we put the second top back on and added a touch of jam to the second roll. It seems as though this one should be the winner, we really liked the light. But the rolls seem to be too “placed,” it just didn’t come across as natural. Our favorite change here, though, is the placemat underneath the jam in the back, it changes the shot and makes us notice the rolls and jam a bit more than with just white as in ‘B’.
Finally, we took shot ‘D.’ Here, the rolls look much more natural in the shot, we love the jam dripping down and the crop seemed to work a bit better (half the flower). We kept the darker placemat in the back and while we preferred the light in shot ‘C,’ given all elements, we decided to go with ‘D’ as our winner.

Homemade Bread Rolls Recipe
Makes 16 rolls
To perform the windowpane test (step 4), take a small piece of dough. Using both hands, gently stretch the dough apart. If it stretches without tearing and becomes nearly translucent (like bubble gum), the dough is ready for the next step. Recipe from: Labensky, Martel & Van Damme (2019). On Baking: A Textbook of Baking and Pastry
- 15 grams active dry yeast
- 180 ml lukewarm water
- 330 grams bread flour
- 7.5 g Kosher Salt
- 30 g Granulated Sugar
- 15 g Nonfat Dry Milk Powder
- 15 g Shortening
- 15 g Unsalted Butter, softened
- 1 egg, whisked and halved (half to be used in recipe, half to be used for egg wash)
- Dissolve the yeast in the lukewarm water in a bowl.
- Combine the flour, salt, sugar, milk powder, shortening, butter and ½ of the egg in the bowl of a mixer fitted with a dough hook.
- Add the water-and-yeast mixture to the mixer bowl; stir to combine. Knead on medium speed 10 minutes. Perform the windowpane test.
- Transfer the dough to a lightly greased bowl, cover and place in a warm spot. Leave alone until doubled, approximately 1 hour.
- Turn the dough out onto a flat surface (very little flour should be used). Let it rest a few minutes to allow the gluten to relax.
- Divide the dough into 1¼-ounce (38-gram) portions and round. Shape as desired and arrange on paper-lined sheet pans. Proof until doubled in size, about 30 minutes.
- Carefully and lightly brush the proofed rolls with the remaining 1/2 egg. Bake at 400°F until medium brown, approximately 12 to 15 minutes.

The upshot of the whole composition, is very good, nothing like the trial and error to evaluate what is best.
The rolls looks delicious. Thanks for share
Looks delicious guys! Great photos!! 🙂
Hi, these look delicious. Would you put your recipes in American measurements as well? I’m not sure how to do that.
THANK YOU.
I love seeing the shot by shot breakdown of what you changed and why. I struggle with choosing “winner” shots and figuring out what to do with props to enhance the food, so it was very valuable to read your method. That said, I agree with your choice D, but for a different reason. In C the open portion of the rolls faces away from the light, while in D it faces toward the light, which I think really highlights the rolls and jam inside. 🙂
I love Tartelette’s blog! I saw your guys photo over there and was thinking “I KNOW THOSE GUYS!!” :0) Very cool!
I am beyond envious that Helen is going to be your mentor…wow! What an honor for you two! I went to a food styling and photography workshop last weekend in the L.A. area and it was amazing. I posted about it…an amazing day and like you, I learned more in a day than i could ever have dreamt of by myself.
Love your shots. D is my fave. And I wish I had known about that Orlando event! Would have considered going!
These pictures are WONDERFUL. While I do not know Helene personally, I do hold her in very high esteem as “the best” at what she does. Mowie of Mowieliscious is right up there with her in my idea of food photography as art. How very blessed you are to have received direction from Helene! I’m jealous, but that is meant as a compliment. With the trusty old Chinon SLR 35mm, I did photography of people to aid my career as a fine artist who specialized in portraiture realism, and “from within” surrealism. But now,here I am, doing a food blog with a digital that seems to have too many bells and whistles. It takes me out of my comfort zone, but I do have fun with it. Photographing food is a genre unto itself and I adore learning it. I do hope you guys stay with it because I share your passion for it and I really enjoy visiting.
Thank you SO much, Linda! We were slightly nervous to post our “learning experience” and photos that had “flaws” … but, reading comments like yours and the additional support from others have been inspiring! Thank YOU!
Miri Leigh- Thank You! The rolls are awesome, a bit of work, but like we said in the post – they are a perfect way to learn simple yeast doughs, why I am asked to make them almost every class!
~Joanne and Adam
What a perfect way to start off the day! Thanks for posting 🙂
Wow, I love the pictures. Great light in all of them and I agree with you, the last one seems with a perfect composition, with the placemat in the background adding some texture, the flower is cute, that red jam is incredible and the rolls, hummm, please send me some for breakfast! 😉
Congratulations on having Helene as your mentor, that’s phenomenal.
Thanks Wendi, we were really inspired. It really is true than in just a few days, we have learned so much — in retrospect they make SO much sense, but we never saw it before.
thatshowiroll – The photos were taken on two different days, which added some of the difference in light. But, as Helen told us, all light is beautiful, you just have to figure out how to use it best!
So wonderful to see you already applying inspiration from the FBF. Love this kind of post where you share some of the knowledge that you are gaining from your relationship with Helen.