Our homemade dill pickles are super simple to make and have a classic flavor that beats anything you can find at the grocery store. Plus, you can enjoy them within a day of making them. I absolutely love this dill pickle recipe!
Like all the other delicious pickle recipes on Inspired Taste, these are refrigerator pickles, meaning you get to enjoy these homemade pickles in as little as a day. My family loves dill pickles, so we use a generous amount of fresh dill in our brine, giving the cucumbers that perfect dill pickle flavor.
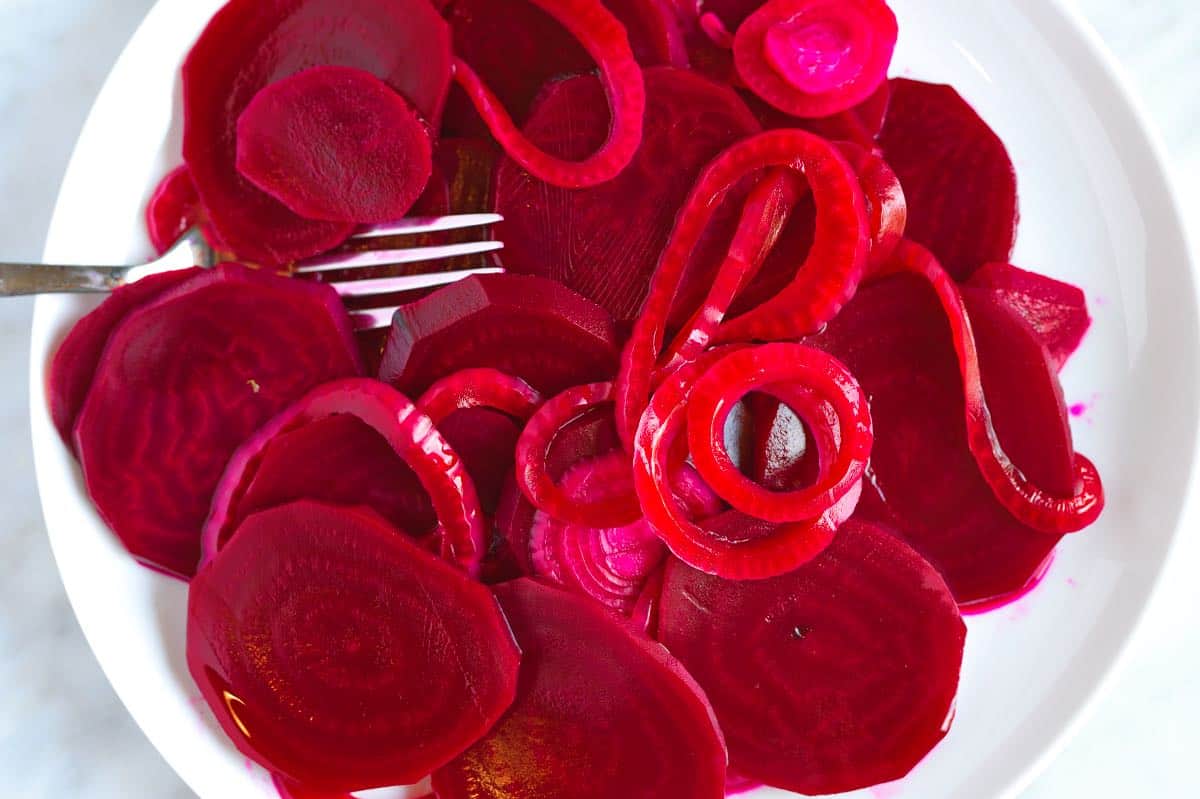
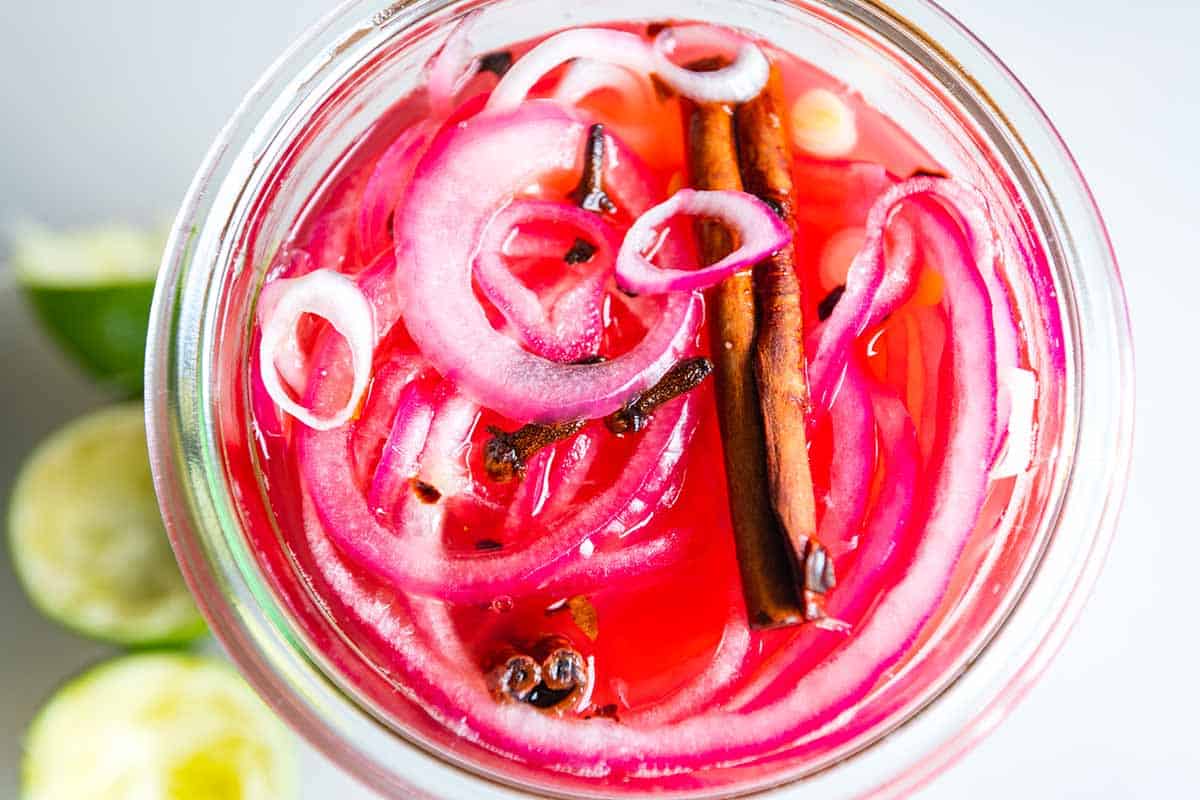
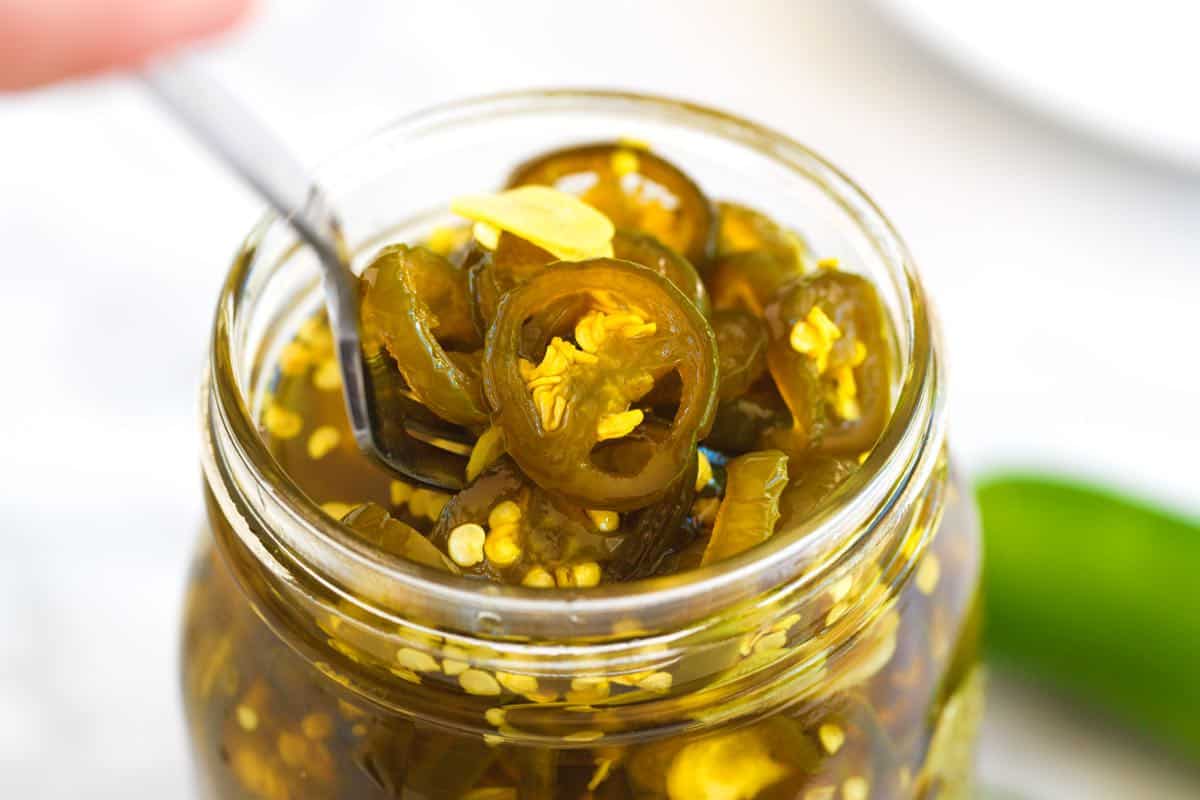
If you love pickles as much as we do, you’ll also love our sweeter bread and butter pickles, crisp pickled carrots, incredible pickled beets, or our quick pickled onions. Or, for a tangy salad that reminds me of pickles, see our cucumber salad!
Key Ingredients
- Cucumbers: For the best pickles, choose Kirby cucumbers. They’re short, fat, and have bumpy skin, making them ideal for pickling because they hold up well in the brine and stay crisp. If you don’t have access to a garden, farmer’s market, or farm, use smaller Persian cucumbers as a substitute.
- Fresh Dill: I use a generous amount since we’re making dill pickles. I chop half of it to float in the brine and leave the rest as whole sprigs, which I push into the jar for a pretty look.
- Garlic: I add whole cloves of fresh garlic to my pickle brine because I love the flavor. If you’re sensitive to garlic, use a little less, and if you love it, mince it or add a few more cloves.
- Vinegar: Use distilled white vinegar with 5% acidity (most are, but double-check the label).
- Pickle Spices: For classic pickles, I combine a teaspoon of sugar with peppercorns, pickling or sea salt, yellow mustard seeds, coriander seeds, and dill seeds. I also love a dried arbol chili pepper for a hint of spice (but this is optional).
How to Make the Best Pickles
You’re just two easy steps away from these amazing dill pickles! First, you’ll let sliced cucumbers sit with salt, whole black peppercorns, chopped fresh dill, garlic cloves, and an optional arbol chili pepper for 30 minutes. Then, you’ll add them to a jar and cover them with the simple dill pickle brine.
Depending on the type of crunch and color you love in your cucumber pickles, you have two options for the brine:
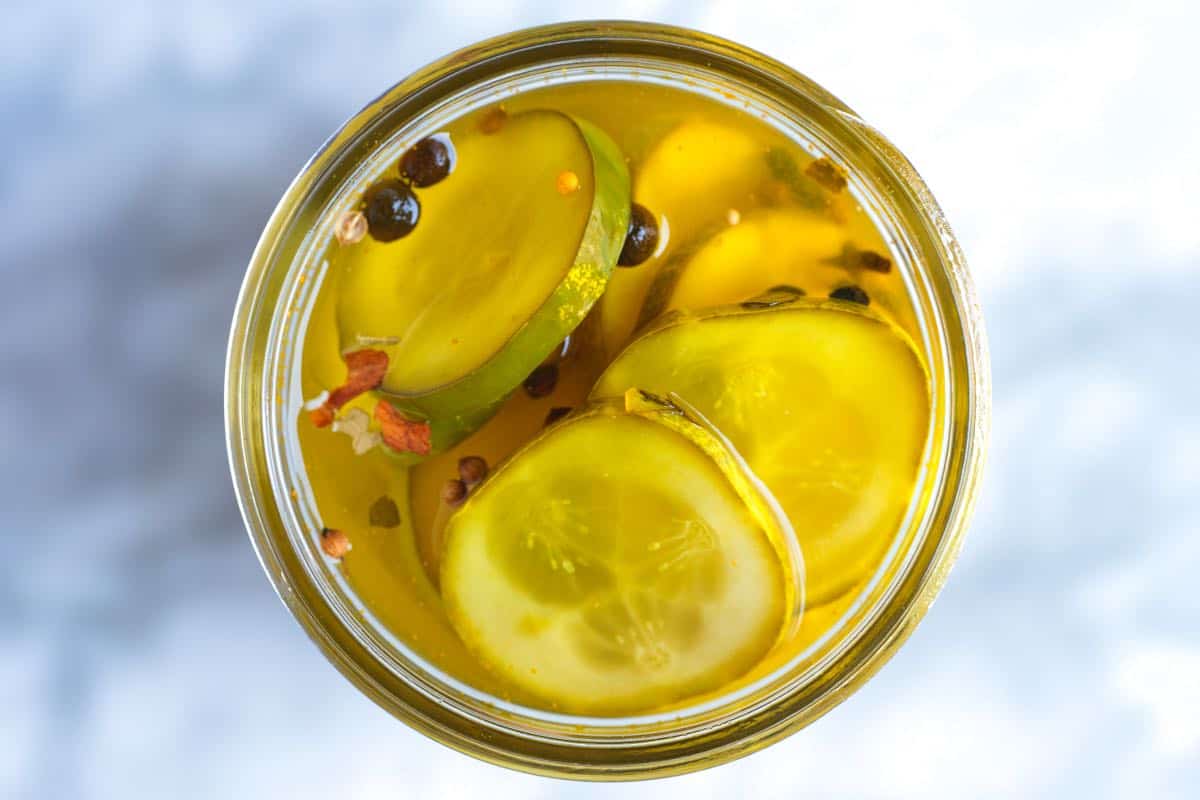
- Hot Brine Pickles: If you prefer pickles with a slightly softer crunch similar to classic store-bought varieties, hot brining is your answer. Just pour the hot brine directly over your cucumbers. While this method softens the cucumbers slightly and results in a slightly duller green color, many people love the texture! Another big advantage of the hot brine is that you can start snacking on these pickles the next day!
- Cold Brine Pickles: For pickles with a snappy crunch and a vibrant, fresh green color, cold brining is the way to go. For this method, allow the brine to cool completely before pouring it over the cucumbers. Be patient, as the full pickling process takes a bit longer (typically 3 to 5 days). But trust us, the wait is worth it for that extra crunch and bright color. These remind me more of my favorite deli-style pickles!
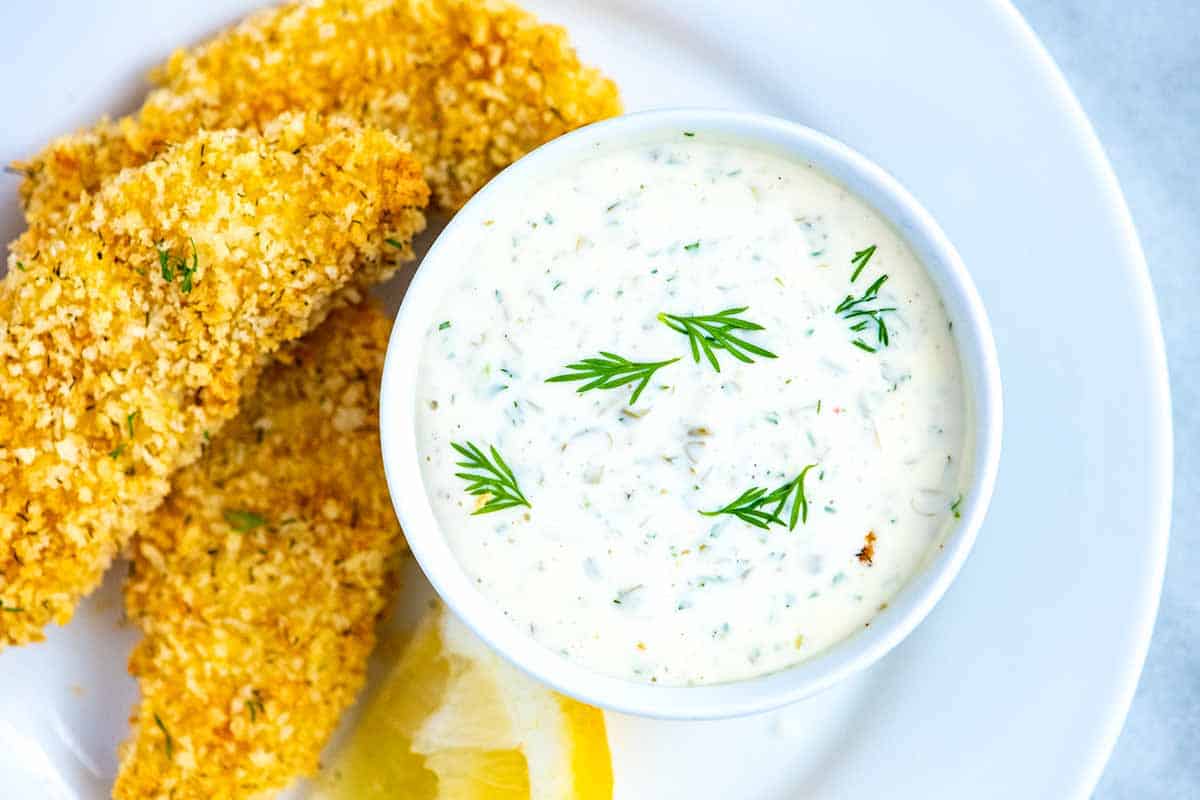
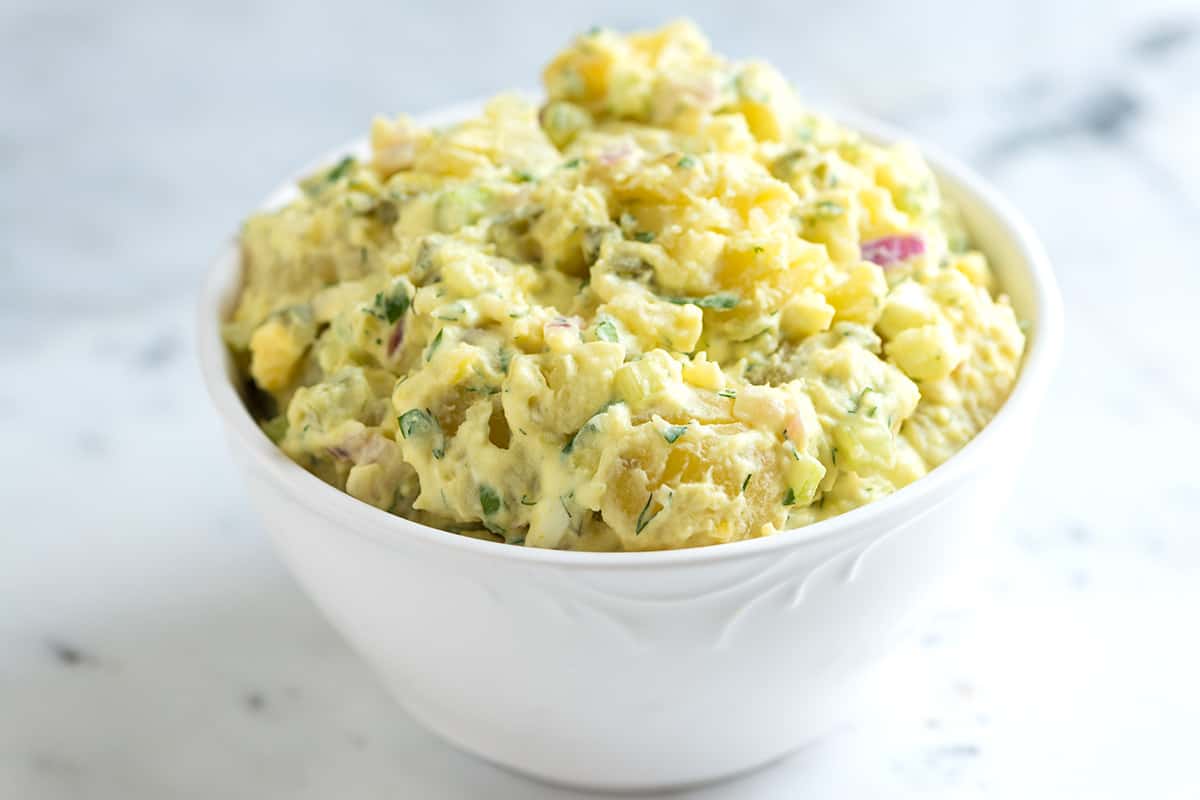
We created this recipe for dill pickles with our friend and chef, Richard Hattaway. He helped us dial in the recipe and has truly made our family’s go-to pickles! I use them to make homemade tartar sauce, creamy pasta salad, and this creamy potato salad. We hope you try them soon!
Perfect Dill Pickles
- PREP
- COOK
- TOTAL
This homemade dill pickle recipe is easy and results in crispy, flavorful pickles far surpassing store-bought pickles. You have two options based on your preference: hot-brined or cold-brined pickles. Hot-brined pickles are ready in a day, offering a quicker option, while cold-brined pickles take 3 to 5 days before they are ready. Cold-brined pickles are more crisp and retain a vibrant green color. For a more detailed comparison, please refer to the article above.
For a sweeter, less dilly take on these, try our bread and butter pickles (I love them!)
You Will Need
6 pickling cucumbers, like Kirby (21oz or 600g)
5 cloves garlic
4 sprigs fresh dill
1 dried arbol chili pepper, optional
4 whole peppercorns
1 cup (236ml) white vinegar, 5% acidity
1/2 cup (118ml) water
2 teaspoons (12g) pickling salt or sea salt, plus 1/4 teaspoon (2g) for brine, recommend using weight, see notes
1 teaspoon sugar
1/4 teaspoon yellow mustard seeds
1/4 teaspoon whole coriander seeds
1/4 teaspoon dill seeds, optional
Directions
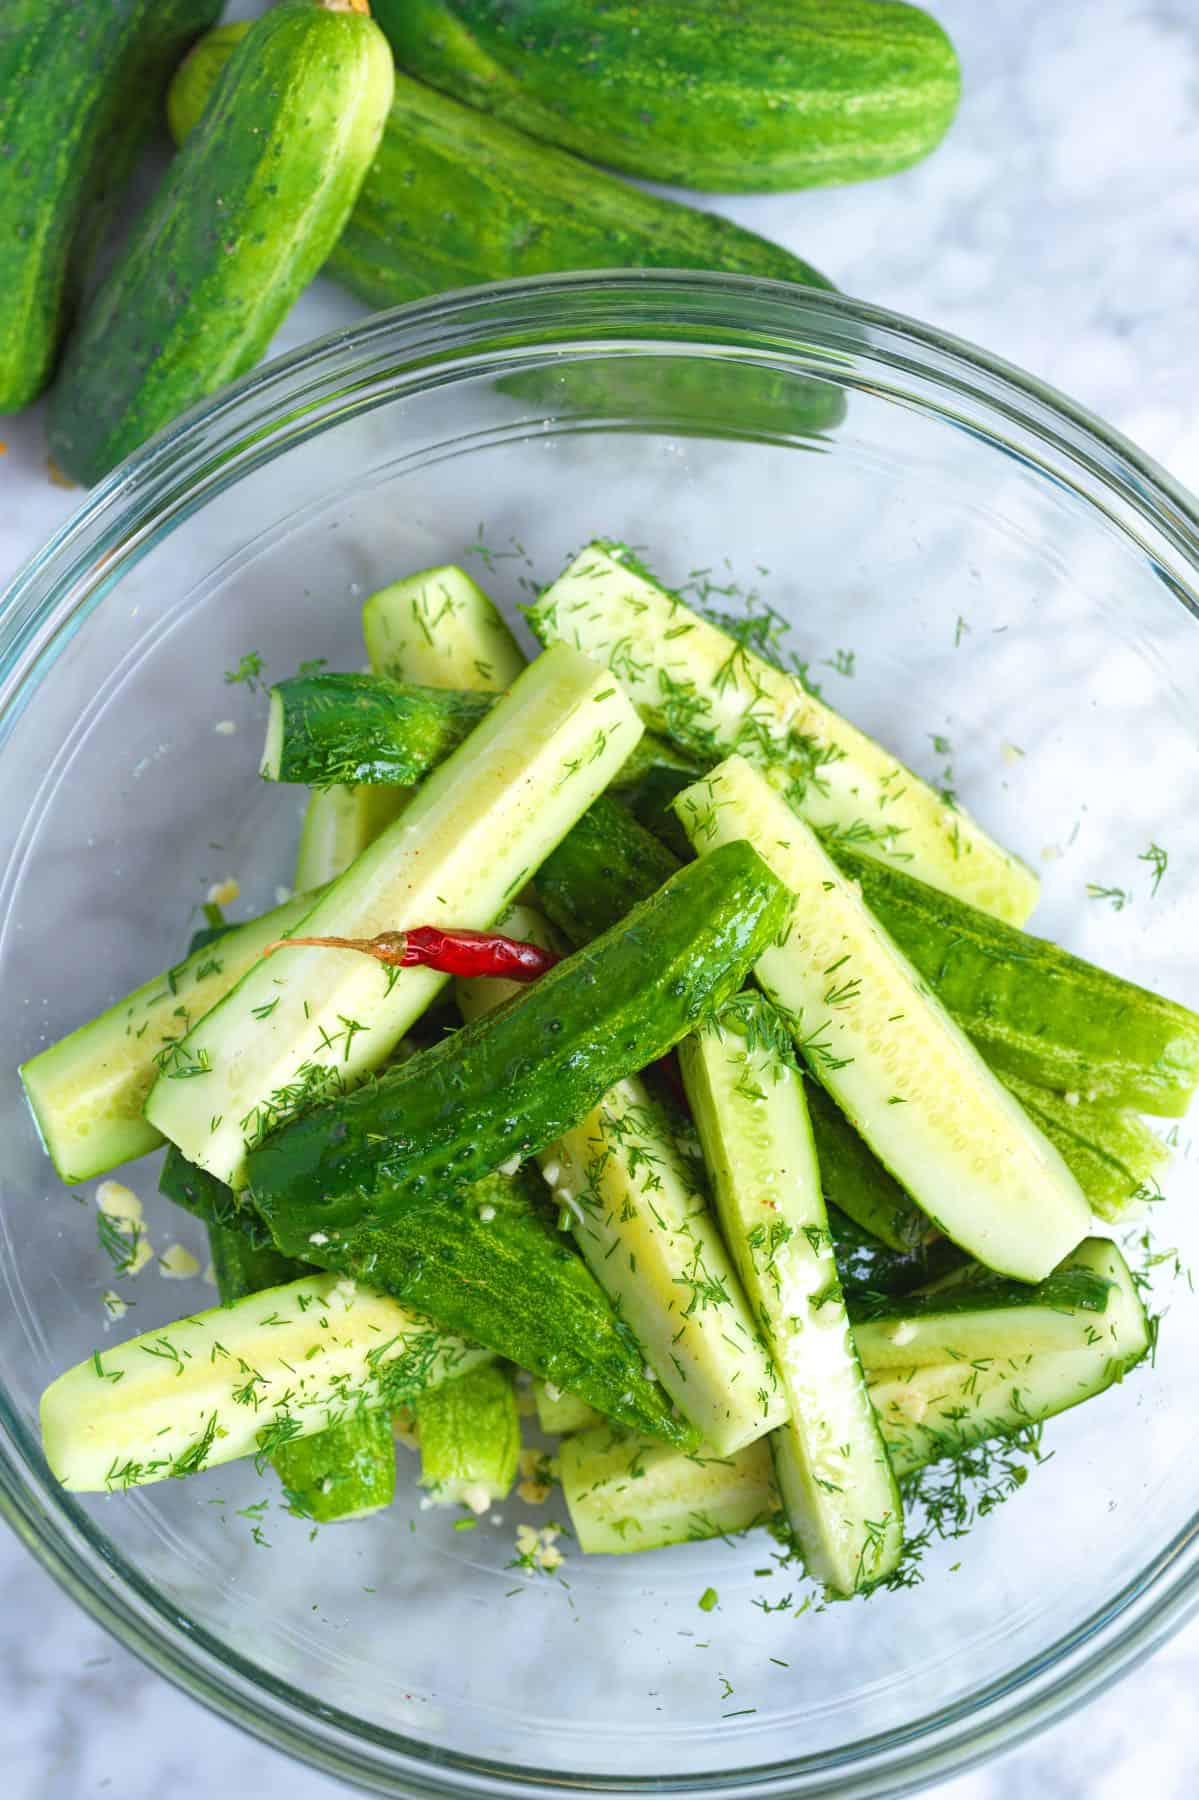
1Prepare the cucumbers, garlic, and dill. Cut the ends off the cucumbers and cut them into spears lengthwise (I typically get 6 spears per cucumber). For garlicky pickles, mince the garlic. For a milder garlic flavor, leave the garlic cloves peeled and whole. Chop half of the dill and keep the rest as whole sprigs.
2In a large bowl, toss the cucumbers with 2 teaspoons (12g) of salt, peppercorns, garlic, chopped dill, and optional arbol chili pepper. Let them sit for 30 minutes.
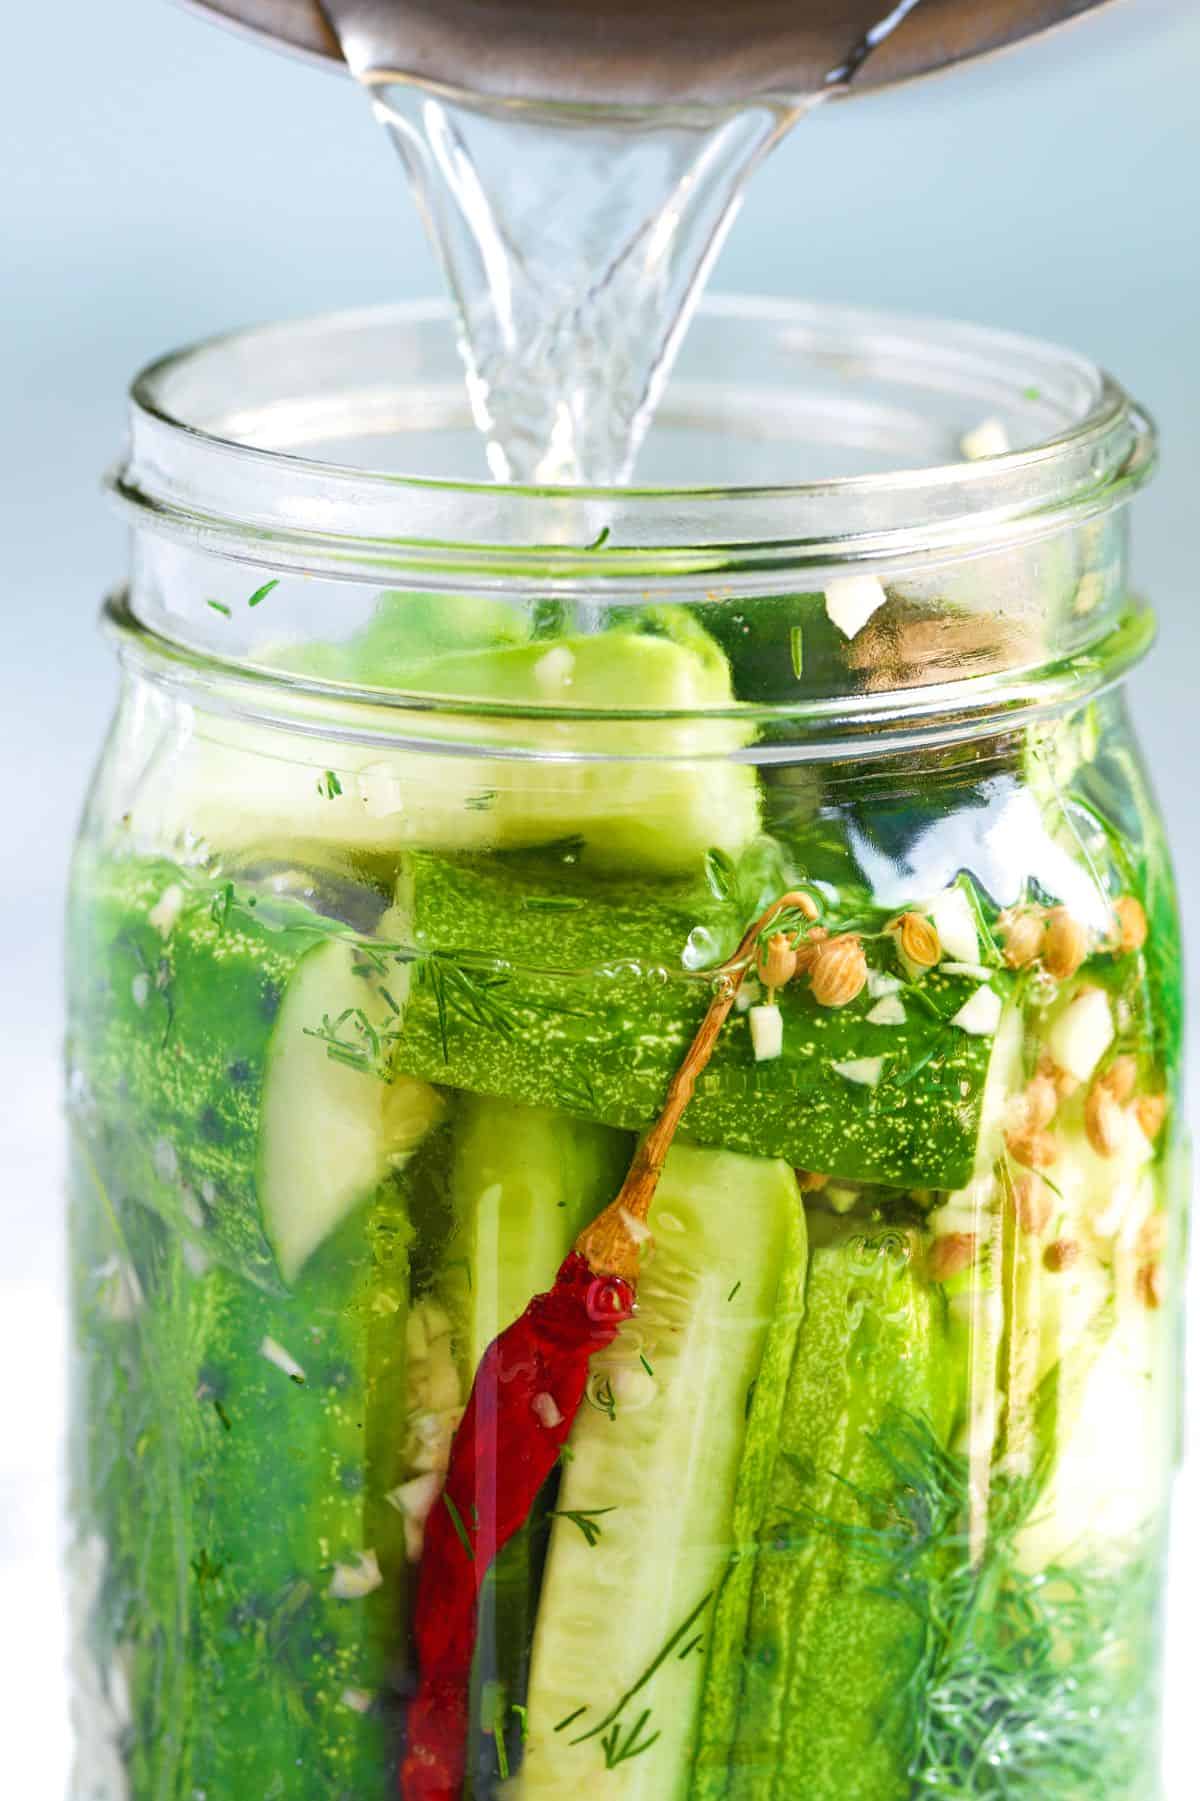
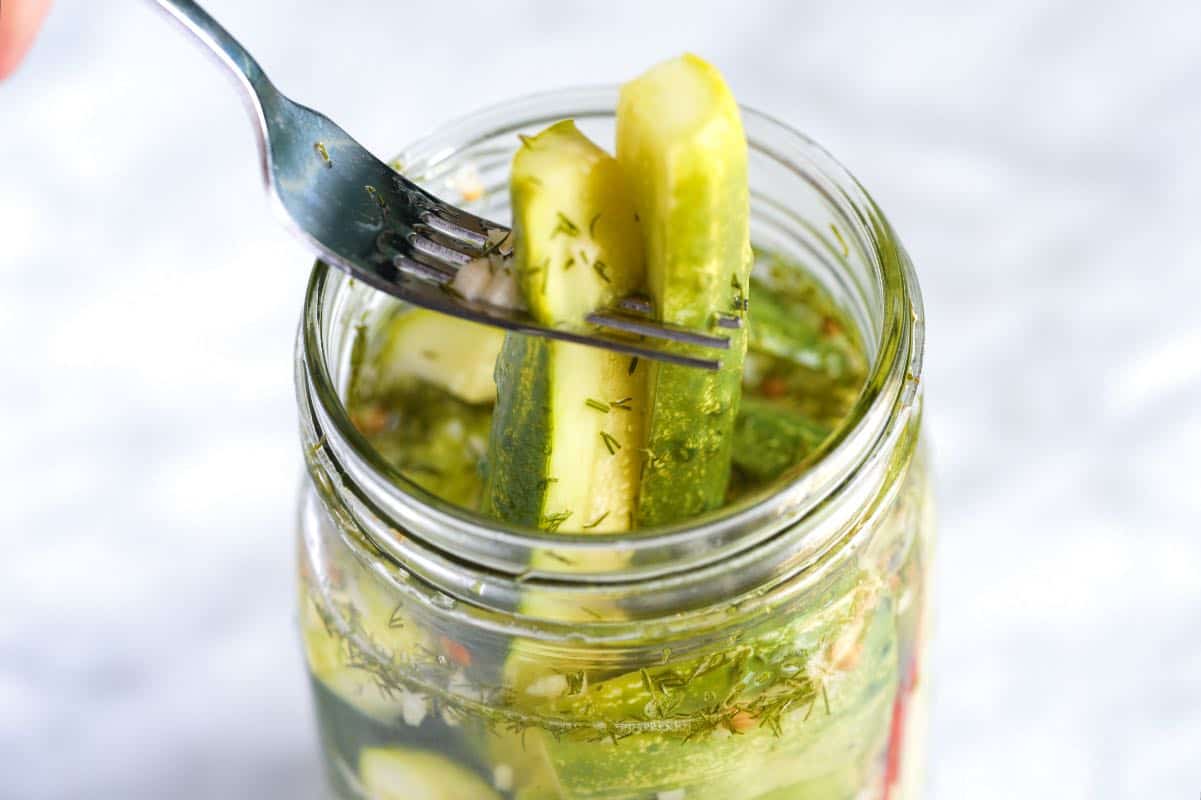
3Pack the cucumbers tightly into a 1-quart jar (1 liter). If some cucumbers don’t fit, cut them in half and place them on top of the packed spears.
4Scrape all the dill, garlic, and salt from the bowl into the jar. Slide the chili and whole dill sprigs down the side of the jar.
5In a small saucepan, bring vinegar, water, 1/4 teaspoon (2g) salt, 1 teaspoon sugar, mustard seeds, coriander seeds, and dill seeds to a boil.
6If you’re making hot-brined pickles, immediately pour the hot brine over the cucumbers to fully submerge them. Leave about 1/8-inch of space between the top of the brine and the jar lid. Let the jar cool to room temperature, then tighten the lid finger tight and refrigerate.
7If you prefer cold-brined pickles, allow the brine to cool to room temperature before pouring it over the cucumbers to fully submerge them. Leave about 1/8-inch of space between the top of the brine and the jar lid. Tighten the lid finger tight and refrigerate.
8Place the jar upside down in a bowl for the first night, then turn it right-side-up the next day.
9Hot-brined pickles will be ready the next day, while cold-brined pickles need 3 to 5 days before they’re ready to enjoy. The pickles will last in the fridge for up to one month.
Adam and Joanne's Tips
- Cucumbers: The best cucumbers for pickling are Kirby, Boston pickling, and other pickling-specific varieties. They are short, fat, and have bumpy skin, making them perfect for brining while retaining their crispness. Smaller Persian cucumbers are a good alternative.
- Dill seeds: These are classic in pickling recipes. They are not the same as dried dill weed. I find them online or in natural/organic food stores.
- Canning: These pickles have been specifically designed for the refrigerator and are meant to be kept in the fridge at all times. However, if you’re experienced in canning, you could adapt them for long-term shelf stability. This would involve using sanitized jars, new lids, and a pressure canner.
- Salt: Pickling salt is best, but you can also use Morton’s kosher salt or sea salt. Avoid table salt due to additives. If using Diamond Crystal salt, you may need to adjust the quantity as it’s larger than pickling salt. We recommend measuring by weight for pickles. If you measure by volume (like tablespoons), you will need about 50% more Diamond Crystal salt.
- The nutrition facts provided below are estimates. Calculating how much salt is in the pickle spears is difficult, so we have included all of the brine in the calculations.


made the pickle recipe and entered contest… but i did make a slight adjustment, husband hates cucumber pickles, but loves carrots and bell pepper pickles, so i used your recipe and made 3 jars. using carrots, bell peppers and onions ….good thing too,… he ate 1 WHOLE jar yesterday , as snacks and with meals. said it was the best pickles i’ve made to date. now i gotta try your pickled jalepeno pepper recipe
These pickles are delicious and so easy to make! I used the cold brine option and English cucumbers since I already had some of them. I will be making fresh pickles regularly with this recipe.
You have made our day with this review!:)
My daughter and I purchased some dill at the beginning of the season and it’s growing like crazy. So…. we googled a pickle recipe and WOW! We not only had fun making them, we love eating them. East, delicious and great for the summer heat!
Wow! We have heard that growing your own dill can be difficult. We LOVE dill so we need to try. So glad you enjoyed your pickles 🙂
So happy I came across your recipe! I have tried so many dill pickle recipes over many years trying to find one where the cucumbers were crisp and tasted great, this is it!! Made these this Summer, did the refrigerator kind and they are delicious crunchy everything a dill pickle should be! Can’t thank you enough! Love them!
Yay! Thank you so much for taking the time to leave a review. We are thrilled that you loved your pickles 🙂
This was a very easy recipe to make, my only problem was finding Dill seeds, I used Dried Dill weed instead and the pickles came out great! Thank you.
Hi Mike, so glad you enjoyed them. We have also had some trouble finding dill seeds. We just leave it out when we can’t find it.
Is there a way t make these Dill pickles shelf stable. I’m up in age and try to store foods as I don’t have away to the store very often.
Hello Barbara, These pickles have been specifically designed for refrigeration storage. They are meant to be kept in the fridge at all times. However, if you’re experienced in canning, you could potentially adapt them for long-term shelf stability. This would involve using sanitized jars, new lids, and a pressure canner.
Can you use Dill weed instead of fresh dill?
Hi Chuck, I am assuming that you mean dried dill weed. Yes, you should be able to.
If I use the hot brine, will the jars seal and be shelf stable?
Hi Denise, These pickles have been specifically designed for refrigeration storage. They are meant to be kept in the fridge at all times. However, if you’re experienced in canning, you could potentially adapt them for long-term shelf stability. This would involve using sanitized jars, new lids, and a pressure canner.
Could you tell me how long the dills will keep in the fridge. I enjoy your site and like how you make things that are easy and not to expensive. Thank you both so much.
Hi Connie, The pickles will last at least a month, possibly and week or two longer. Just make sure that they stay covered in the brine.
an exciting new site to add to my list – great video for baked cabbage Thank you
So happy that you found us! You are going to love the baked cabbage 🙂