My whipped cream recipe takes less than 5 minutes and tastes WAY better than anything you can buy at the store! Promise.
My ideal whipped cream is outrageously creamy, light, pillowy, and ever-so-slightly sweetened. I use this whipped cream for so many of the dessert recipes on Inspired Taste.
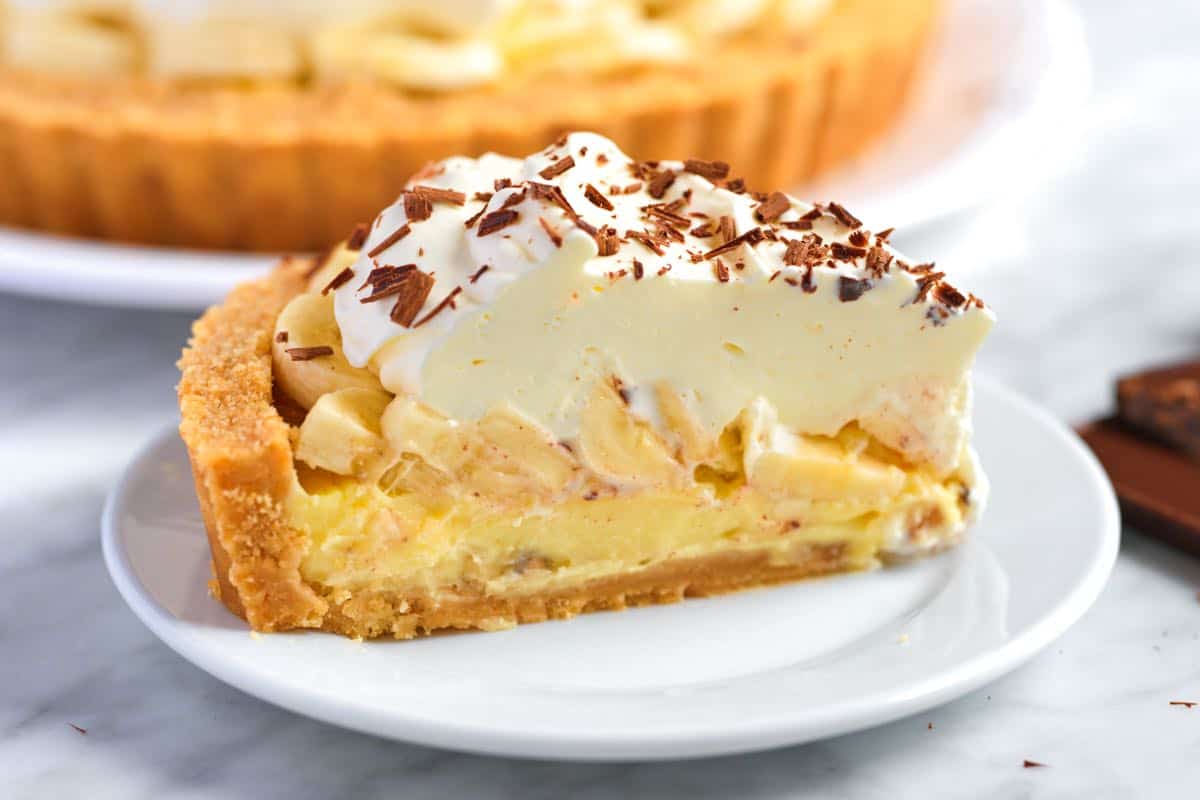
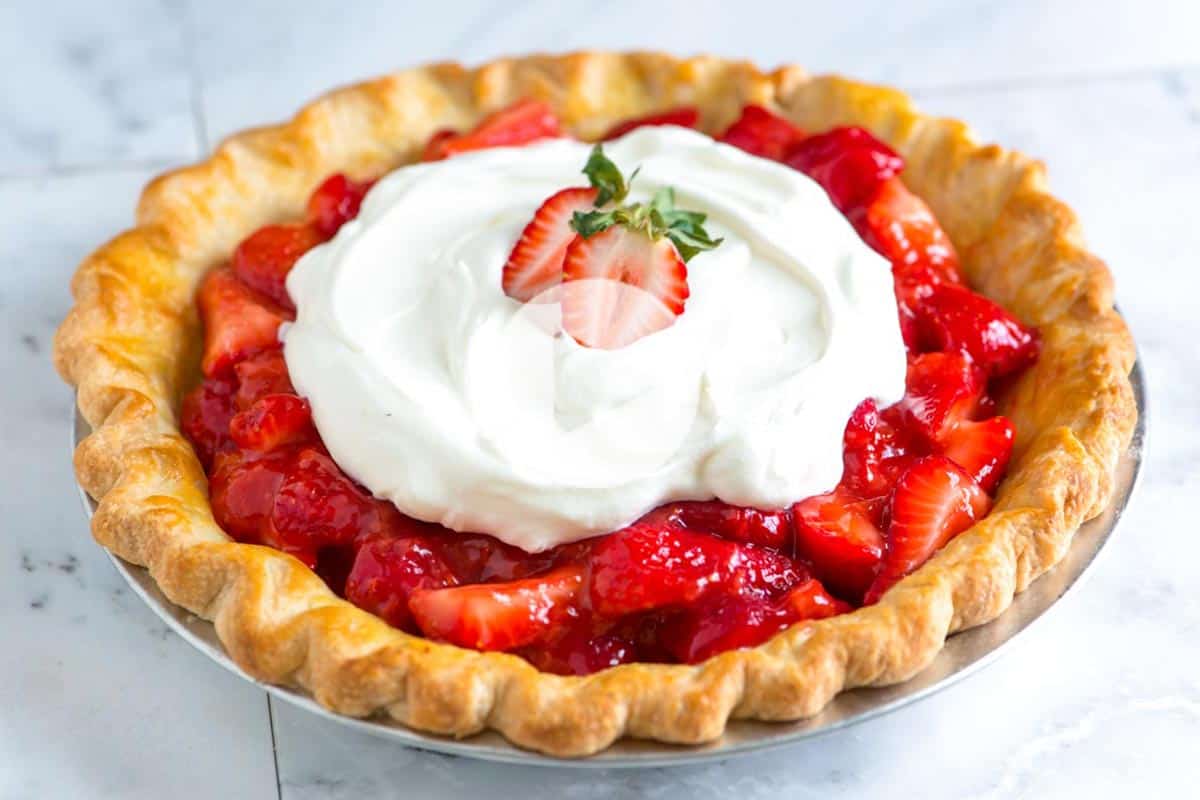
It’s perfect spooned onto scones, berry fruit salad, and coffee (try my pumpkin spice latte). And it’s essential for our strawberry shortcake! I even use this exact recipe for pie, as shown in our banana cream pie, strawberry pie, and my favorite peanut butter pie!
Key Ingredients
- Heavy Cream: For the firmest whipped cream that holds its shape, I use cold heavy cream, heavy whipping cream, or double cream. These all have a fat content of 36% or higher, which means they will whip up nicely. For a dairy-free alternative, I love this vegan coconut whipped cream!
- Sweetener: I add powdered sugar, maple syrup, or honey. 1 to 2 tablespoons is perfect for 1 cup of cream and adds a touch of sweetness, but it won’t taste overly so.
- Vanilla: I love vanilla whipped cream, so I almost always add a splash of vanilla extract. Totally optional, though!
- Salt: I firmly believe a pinch of salt makes just about anything taste better, including whipped cream. I add a tiny pinch of salt to the cream when I’m whipping it.
The colder the cream, the better it whips, so I like to keep mine in the coldest part of my fridge. Depending on how you plan to enjoy it, there are three stages of whipped cream to look for:
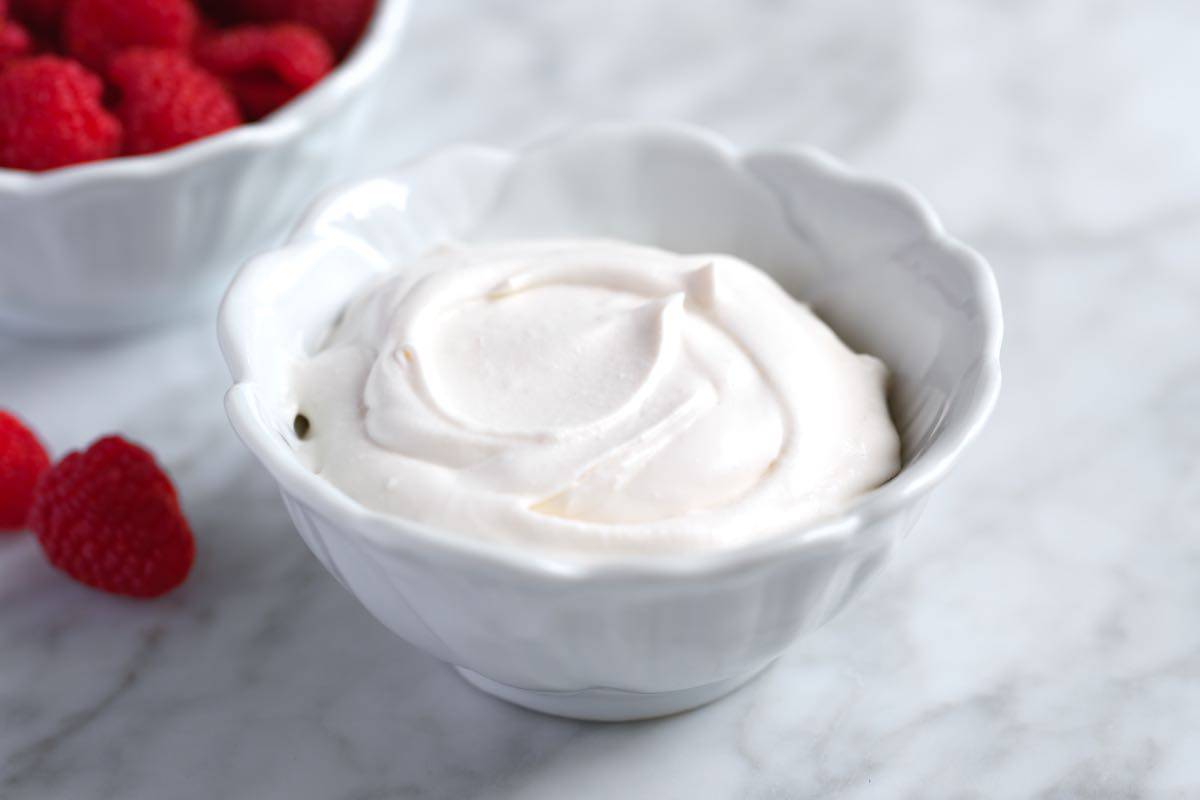
- Soft peaks are when the cream is thick but doesn’t hold much of a shape. Soft peaks are ideal for folding the whipped cream into another mixture, like a mousse. I also stop at soft peaks for this berry fruit salad (the swoopy, softly whipped cream is perfect with the berries).
- Medium peaks are when the cream holds its shape pretty well but is still soft. I love my whipped cream at this stage since it holds its shape well enough for spooning on desserts, spreading onto cakes, and folding into other creamy mixtures. Think the creamy filling for tiramisu, the whipped topping for this blueberry cake, and the creamy layer for these strawberry shortcakes.
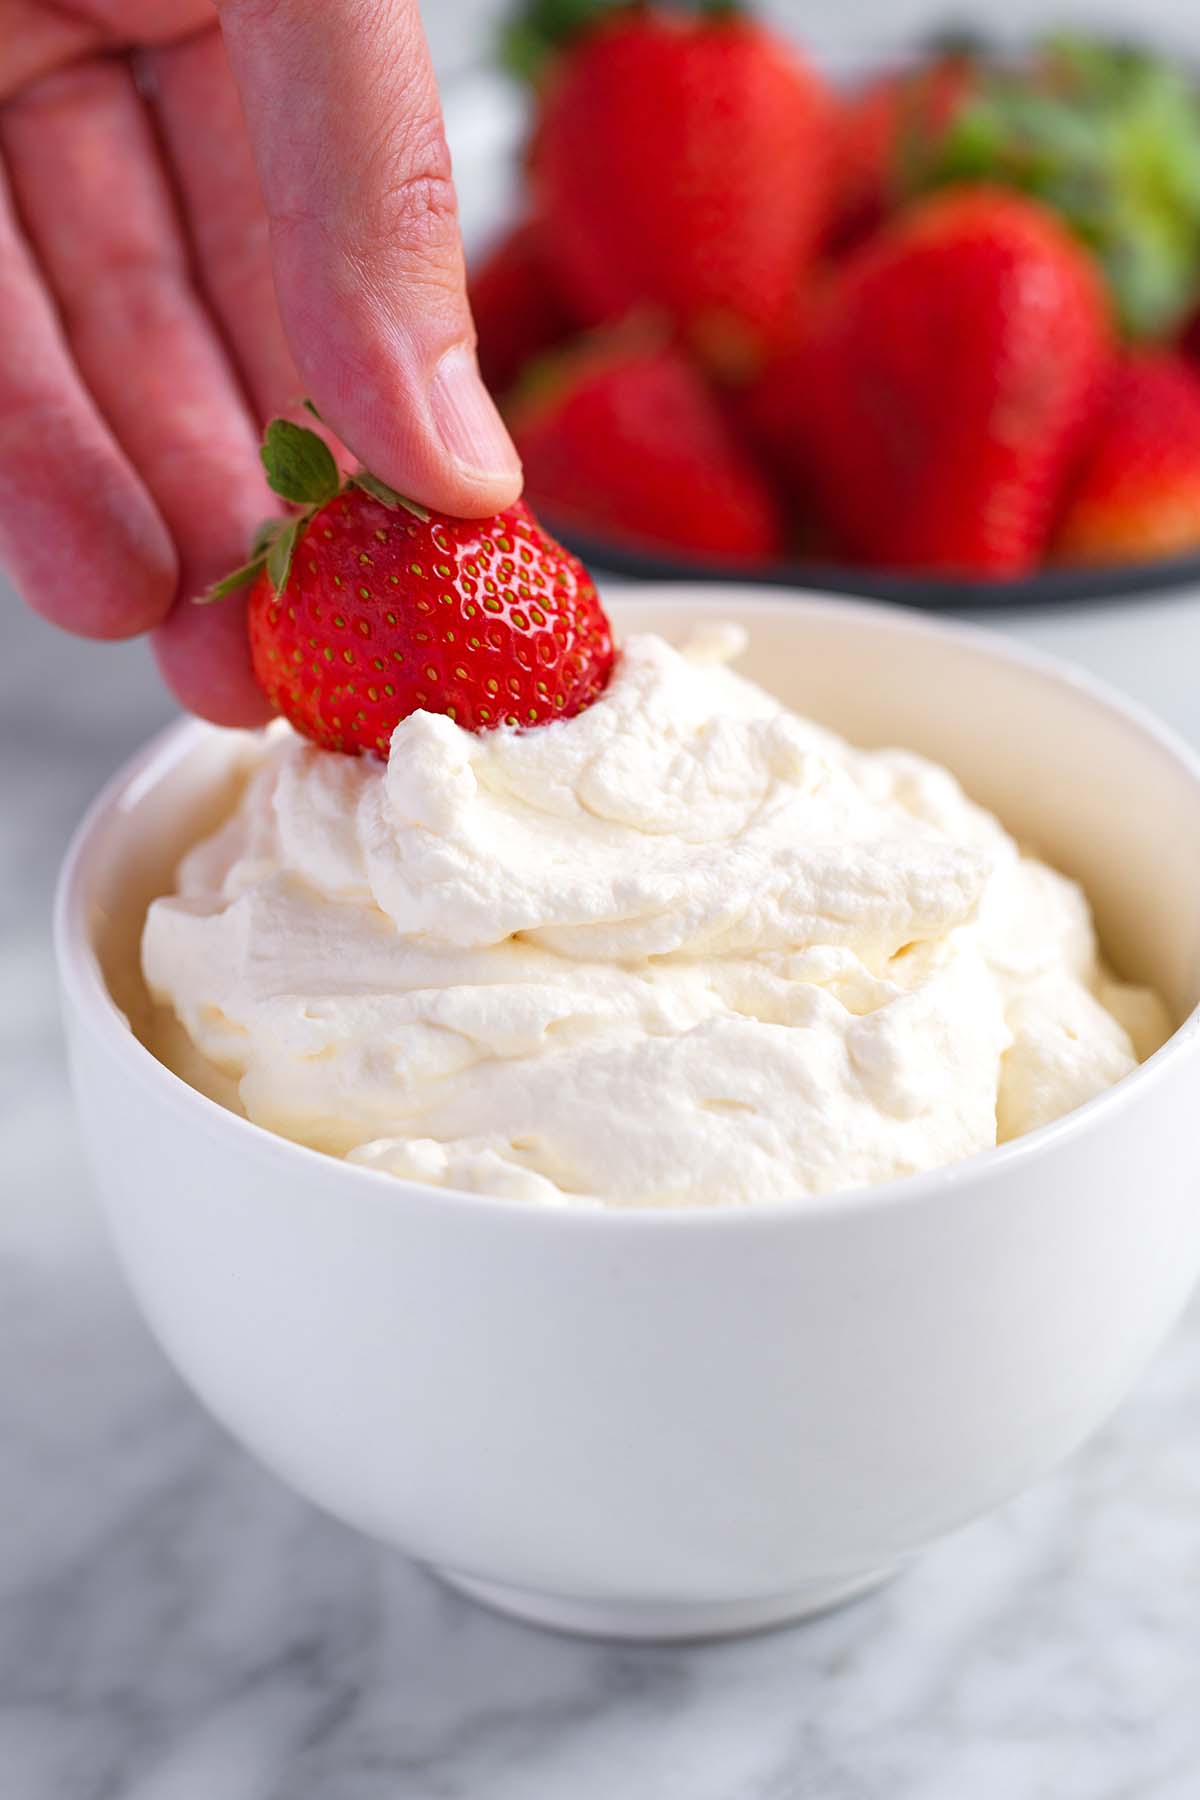
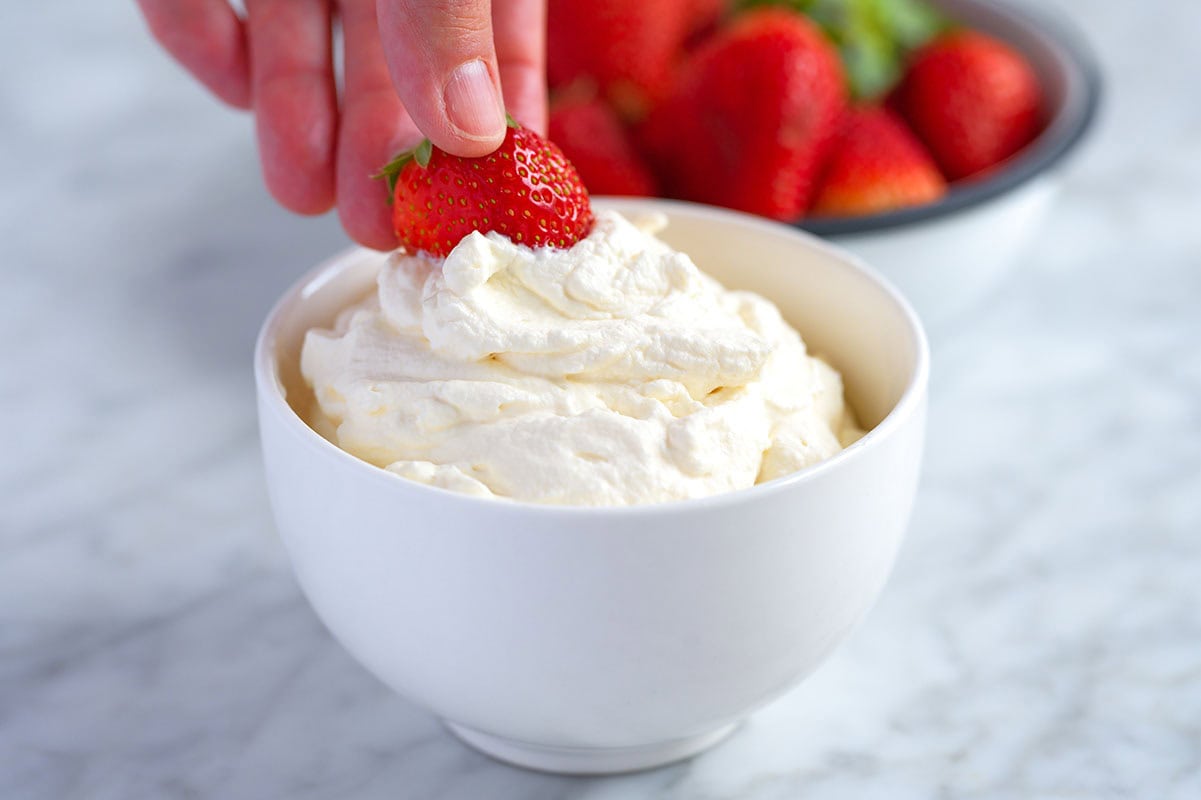
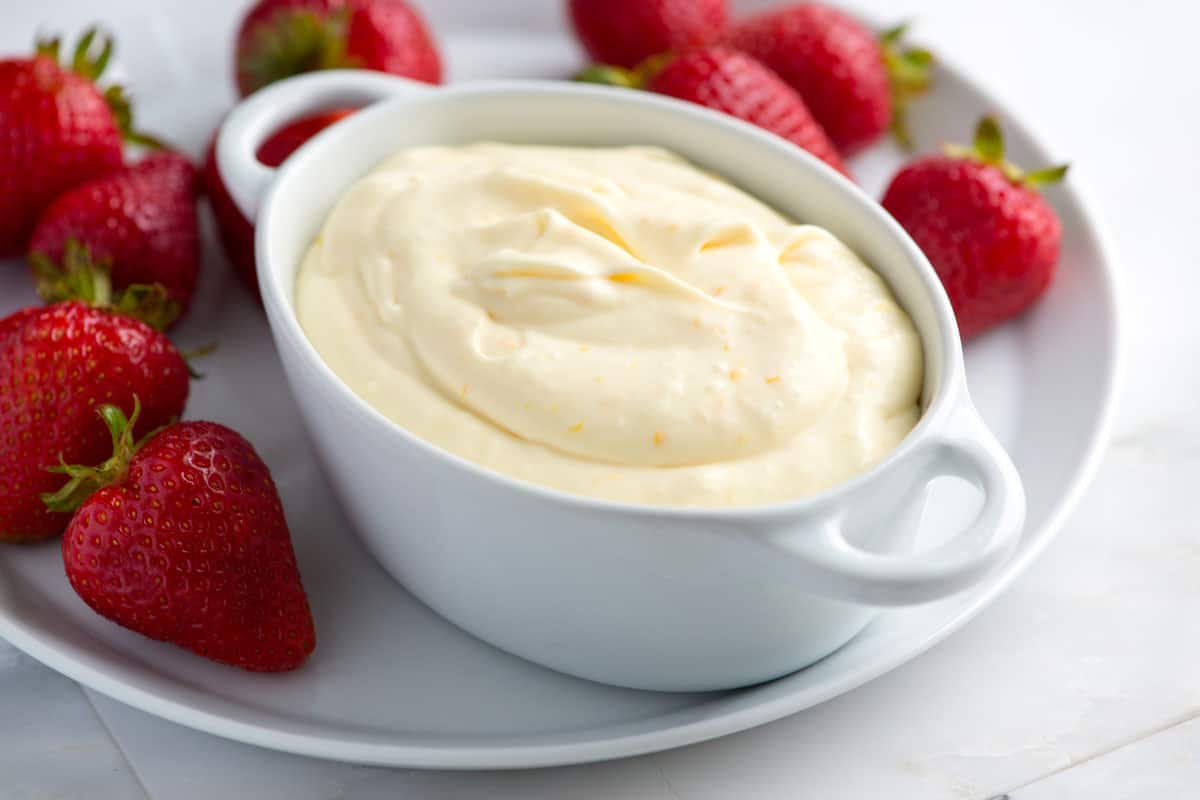
- Firm or stiff peaks are when the cream stands up and does not fall back onto itself. This stage is perfect for dipping, spreading, and piping. I recommend this for the creamy filling for my peanut butter pie.
If you accidentally over-whip your cream, I’ve got you covered! Over-whipping means your pillowy, creamy whipped cream becomes clumpy and curd-like. But you can fix it by slowly beating in a bit more cream. Check the tips below the recipe for how to fix it (it’s easy).
Perfect Whipped Cream
- PREP
- TOTAL
This is my favorite recipe for whipped cream. I use it for so many of the dessert recipes on Inspired Taste! It’s light, fluffy, and so much more delicious than what you can buy at the store. If you accidentally over-whip your cream, see my tips below the recipe for how to fix it! For a dairy-free option, see my coconut whipped cream that calls for coconut cream instead of heavy cream (it’s delicious).
Watch Us Make the Recipe
You Will Need
1 cup (240ml) cold heavy cream or heavy whipping cream
1 to 2 tablespoons powdered sugar, maple syrup, or honey
1 teaspoon pure vanilla extract, optional
Small pinch fine salt, optional
Directions
1Cream whips best when it is very cold. If your cream is not cold, chill it in the refrigerator before using it in this recipe.
2Pour the cold cream into a large mixing bowl (or the bowl of a stand mixer) and add optional ingredients, such as sweetener, vanilla, and salt, as desired.
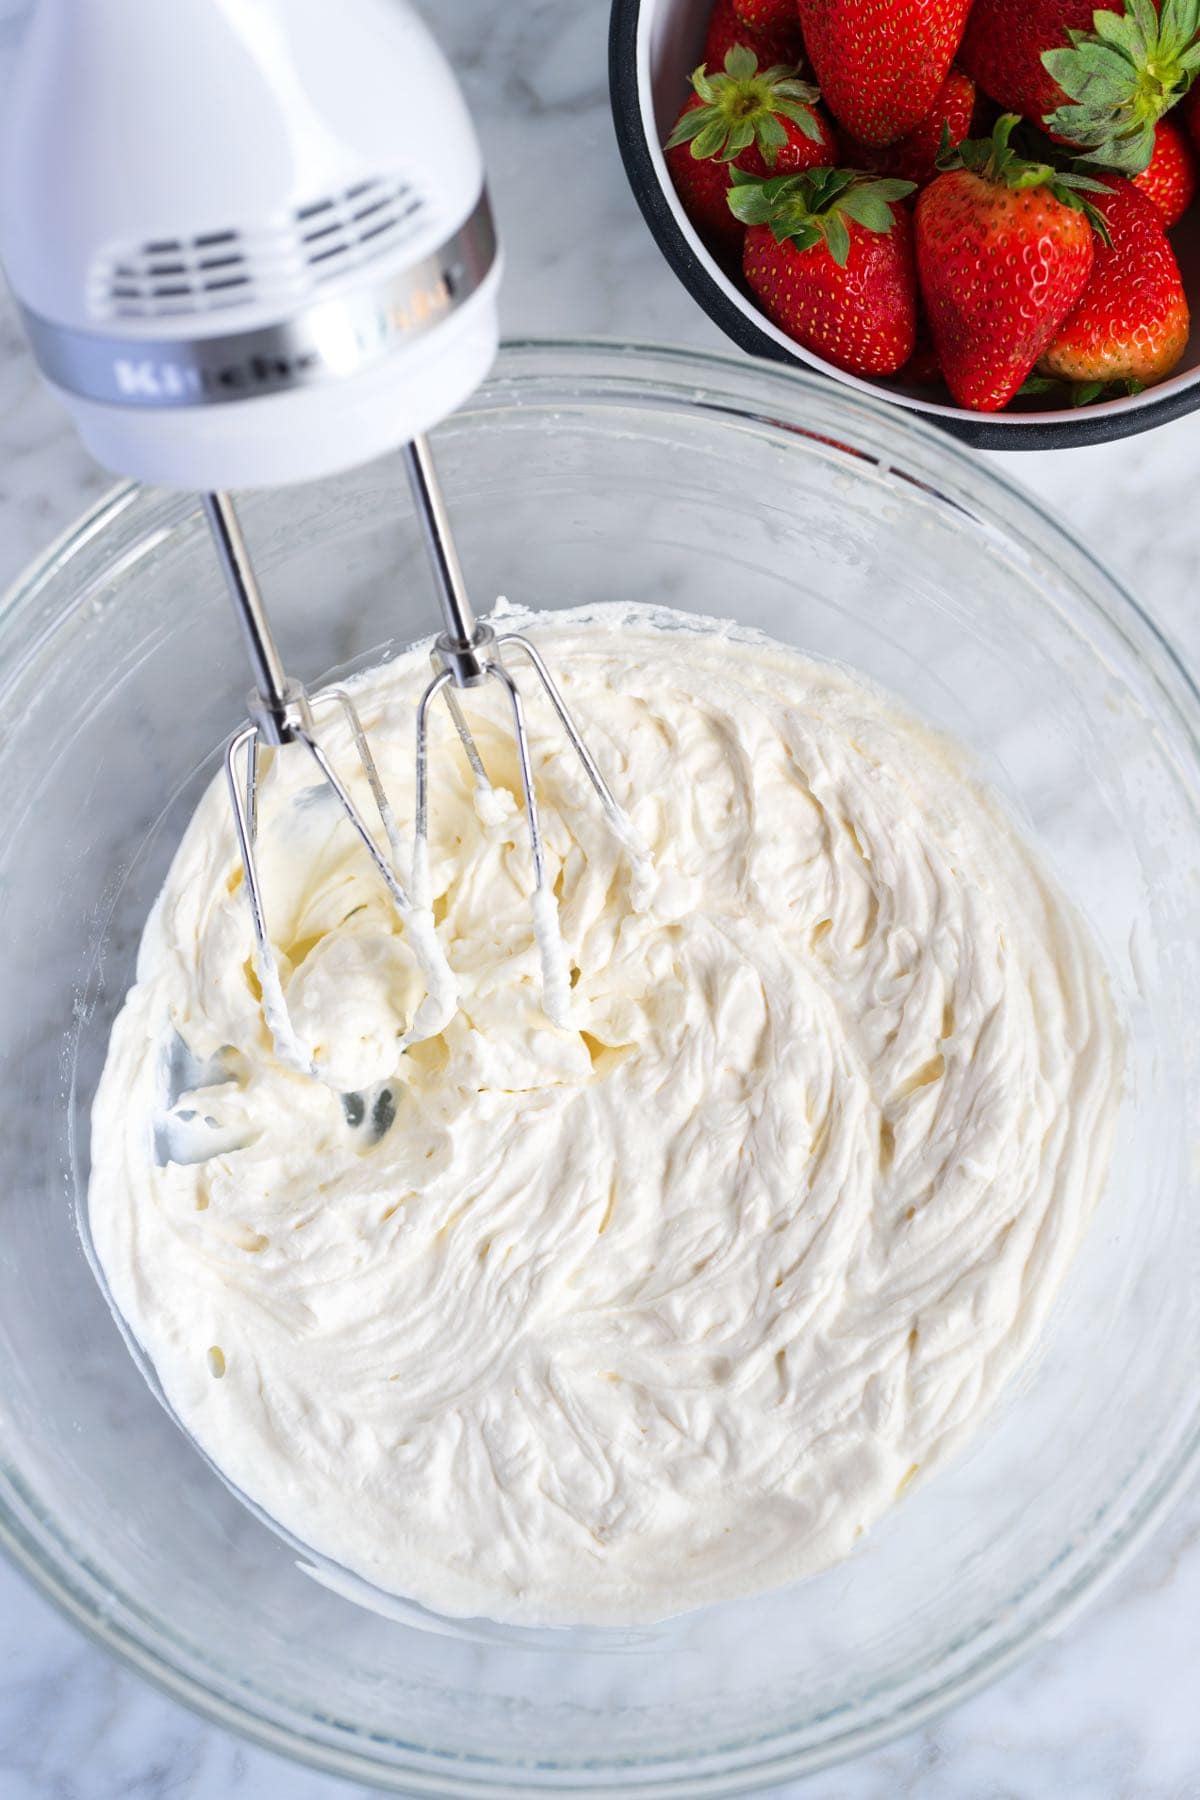
3Use an electric hand mixer or a stand mixer to beat the cream at a low speed until it starts to foam and bubble, then increase the speed to medium-high. Starting at a lower speed prevents the cream from splattering out of the bowl.
4Beat at medium-high speed until your desired consistency, 2 to 3 minutes (see our article for the three stages of whipped cream and their uses).
Adam and Joanne's Tips
- Fix over-whipped cream: If your cream breaks and looks clumpy and curd-like, it is over-whipped. To fix it, turn off your mixer and grab the carton of whipping cream from the fridge. With the mixer on LOW speed, pour a small amount of unwhipped cream into the bowl. Continue adding cream, a little at a time, until the over-whipped cream becomes light and fluffy again. You may need a couple of tablespoons or more (sometimes 25% to 50% of the cream you already used).
- Storing: Keep homemade whipped cream covered in the refrigerator for 24 hours. If the cream deflates, use a whisk or hand mixer to whip it again.
- The nutrition facts provided below are estimates.


My husband and I love this recipe! My husband is diabetic. So I subbed the regular confection sugar for Swere confection sugar. It formed thick peaks!
Question when do you add the sweetener, vanilla and salt
Hi JoAnn, We add them in the beginning. The recipe with directions are above.
Love whipped cream from scratch and I appreciate your helpful tips and tricks, especially adding a little salt, thank you!!
Glad we could help!
THANK YOU! for the salt, the peaks explanation, the “save”, & the scone reminder!
You are welcome! Thanks for sharing, Leslie!
This is a great recipe and so easy to use.
So glad you enjoy it!
This is so delish! I prefer recipes without preservatives! Thanks for the recipe!
You are so welcome! 🙂
Put your beaters and your mixer bowl in the freezer to get them as cold as possible. This will help.
Thanks for sharing, Ken. I don’t bother with this unless my kitchen is really hot OR if my bowl/beaters just came out of the dishwasher.