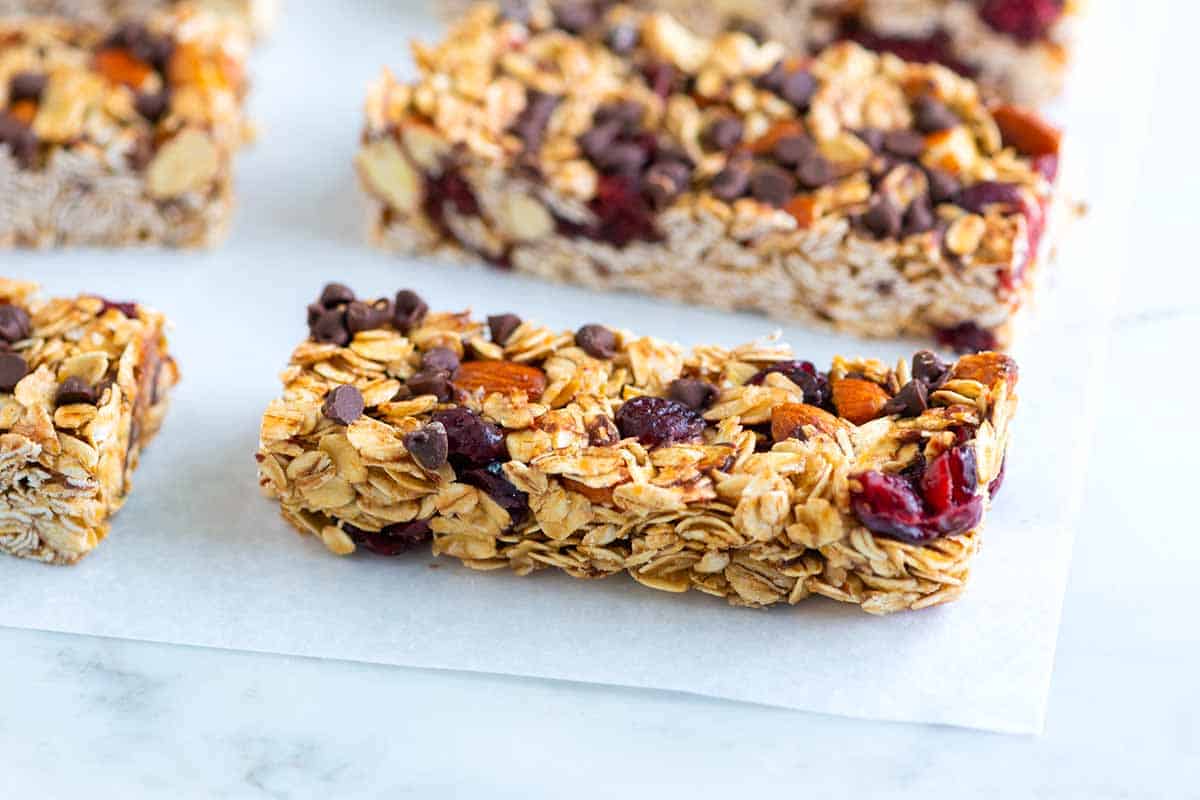
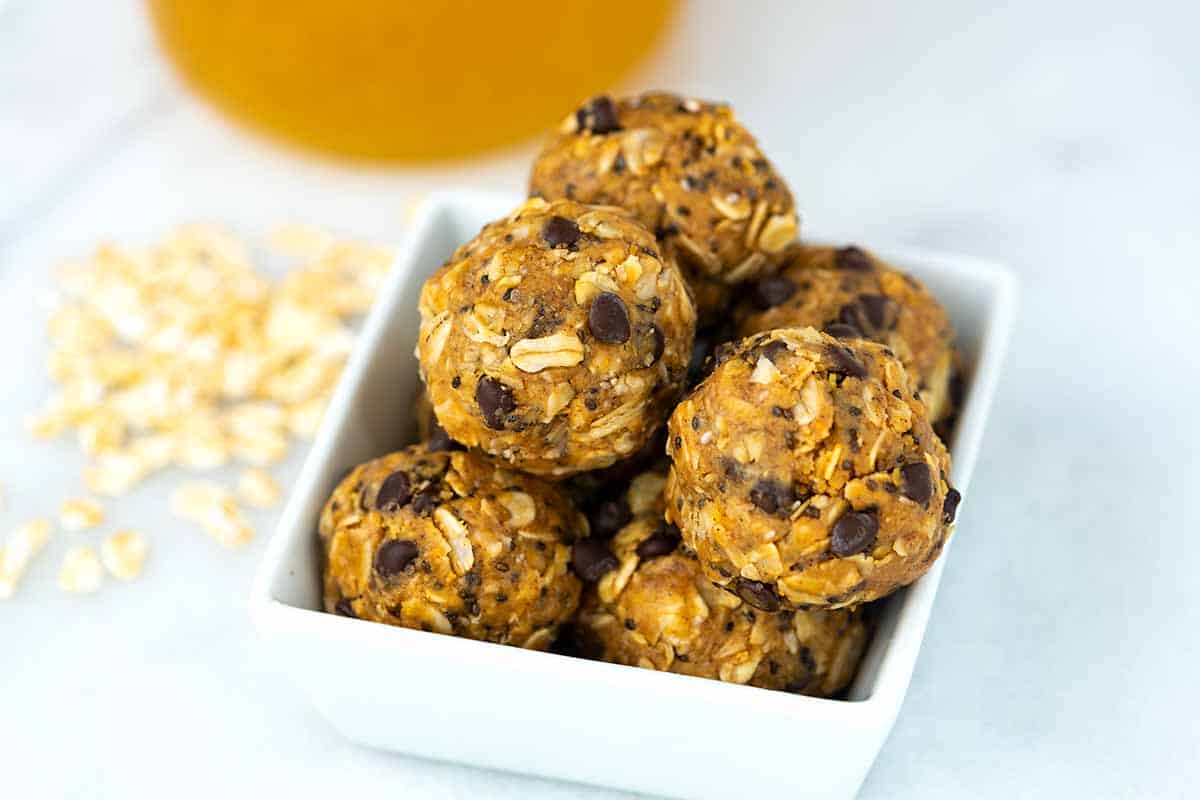
Forget store-bought! Here is how to make delicious baked granola bars at home! Packed with good-for-you ingredients, these homemade bars are easy to make and taste incredible!
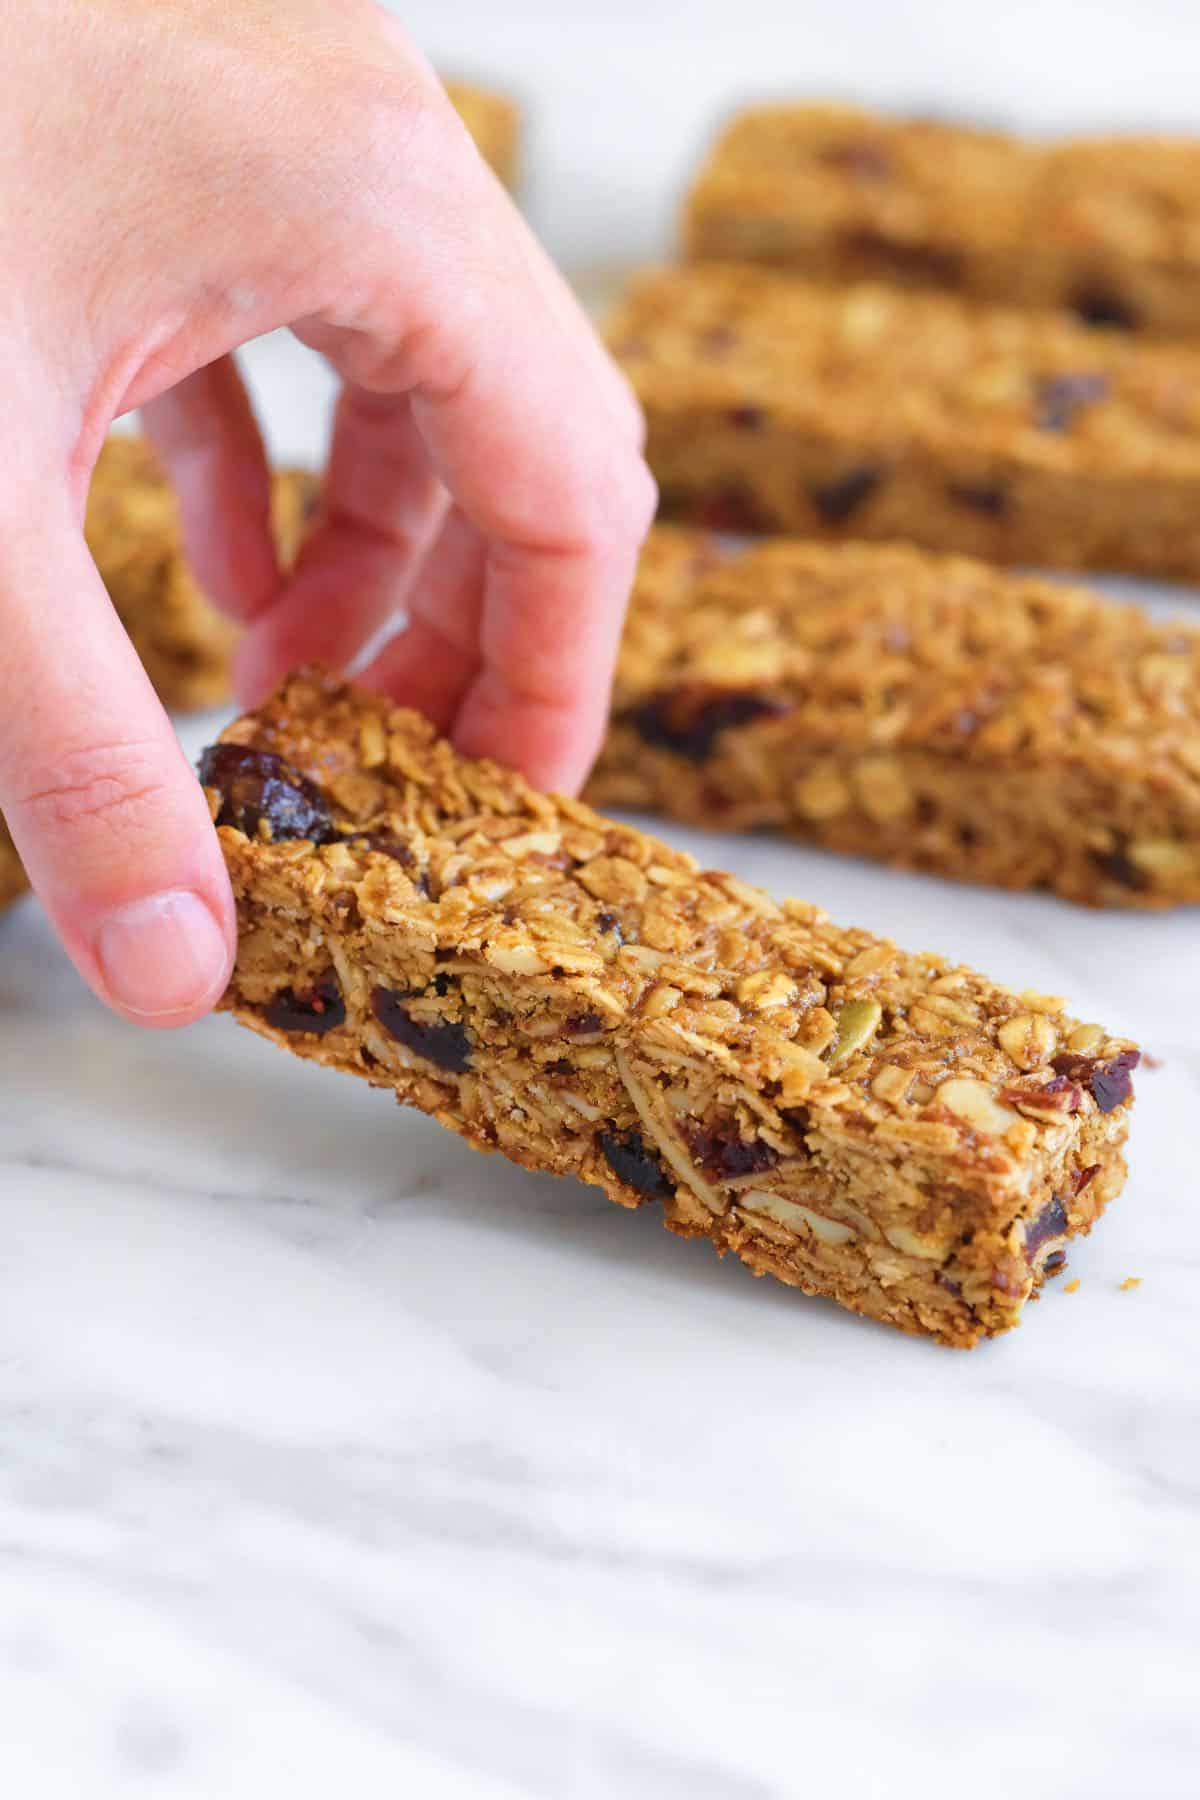
We love making granola bars around here! These granola bars are absolutely delicious, thanks to the baking. We mix some of our favorite ingredients with some sugar and honey. Then, as the bars bake in the oven, the sugar melts and caramelizes into the bars, and at the same time, the oats and nuts toast and become extra nutty.
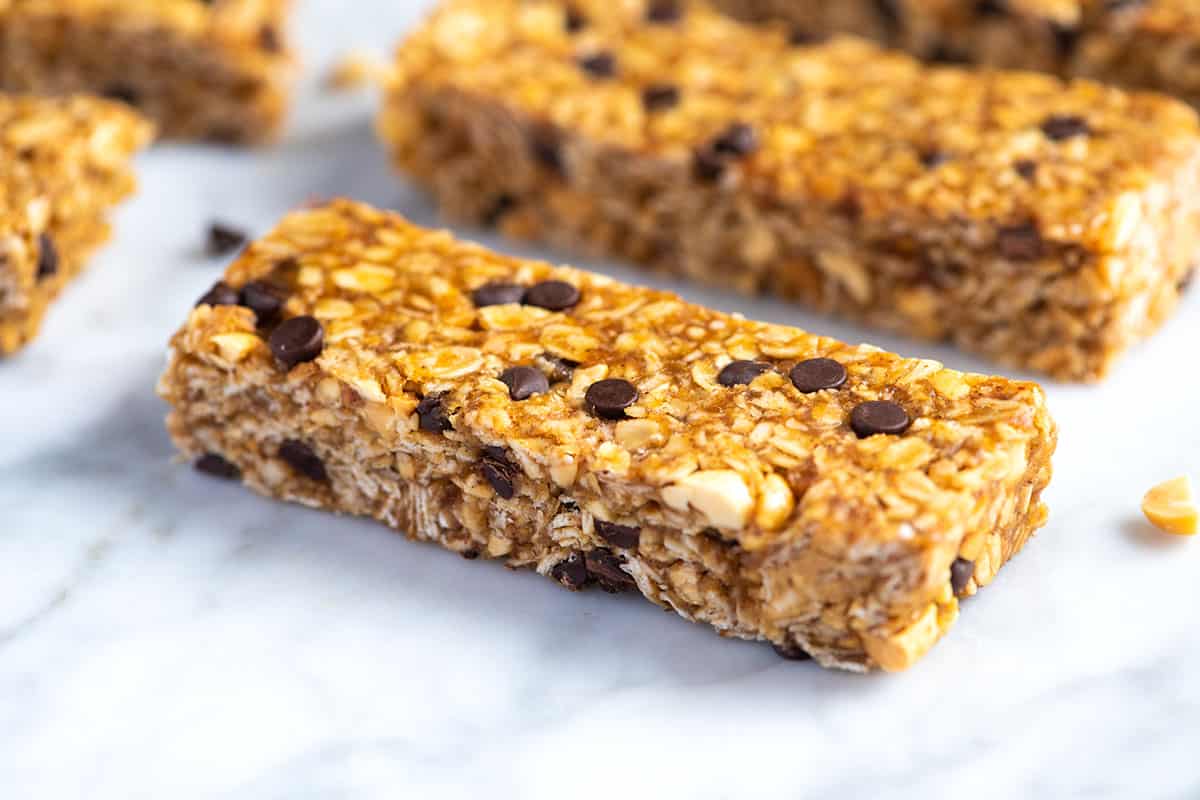
These turn out golden brown, toasted, and just a little chewy. They are heartier than our softer, chewier, no-bake granola bars. I pack more goodies into these so they are thicker. I love these baked bars and give them an edge over the no-bake recipe. That said, my young son loves the no-bake bars, so you should look at both to see which style works best for you. If you love peanut butter, we also have these peanut butter granola bars (I told you we liked making our own!).
Key Ingredients
- Oats: We use oats two ways in these bars. First, you’ll add lots of rolled oats to the mix, and second, you’ll use oat flour or finely ground oats to help make up the glue that keeps these bars together.
- Sweetener: I use coconut sugar (or granulated sugar) and honey (or maple syrup) in these bars. The sugar melts in the oven, helping to glue the bars together. The honey helps, too, but mostly, it’s there for a little stickiness and flavor. I’ve reduced the sugar in these bars over the years. If you prefer a sweeter bar, add some chocolate chips or increase the sugar by a few tablespoons.
- Nuts and Seeds: I love adding a healthy amount of nuts, but I prefer to chop them pretty small before adding them. After making these many times, I’ve noticed that if they crumble, they do so where a larger piece of nut or dried fruit sits. So, by more finely chopping the nuts, we minimize crumbling. I love walnuts, pecans, crumbled sliced almonds, pumpkin seeds, dried coconut, and flaxseed meal. The options are endless!
- Dried Fruit: Just like with the nuts and seeds, we want to chop the fruit small. I love dried cranberries, but other fruits like raisins, golden raisins, apricots, and figs are excellent.
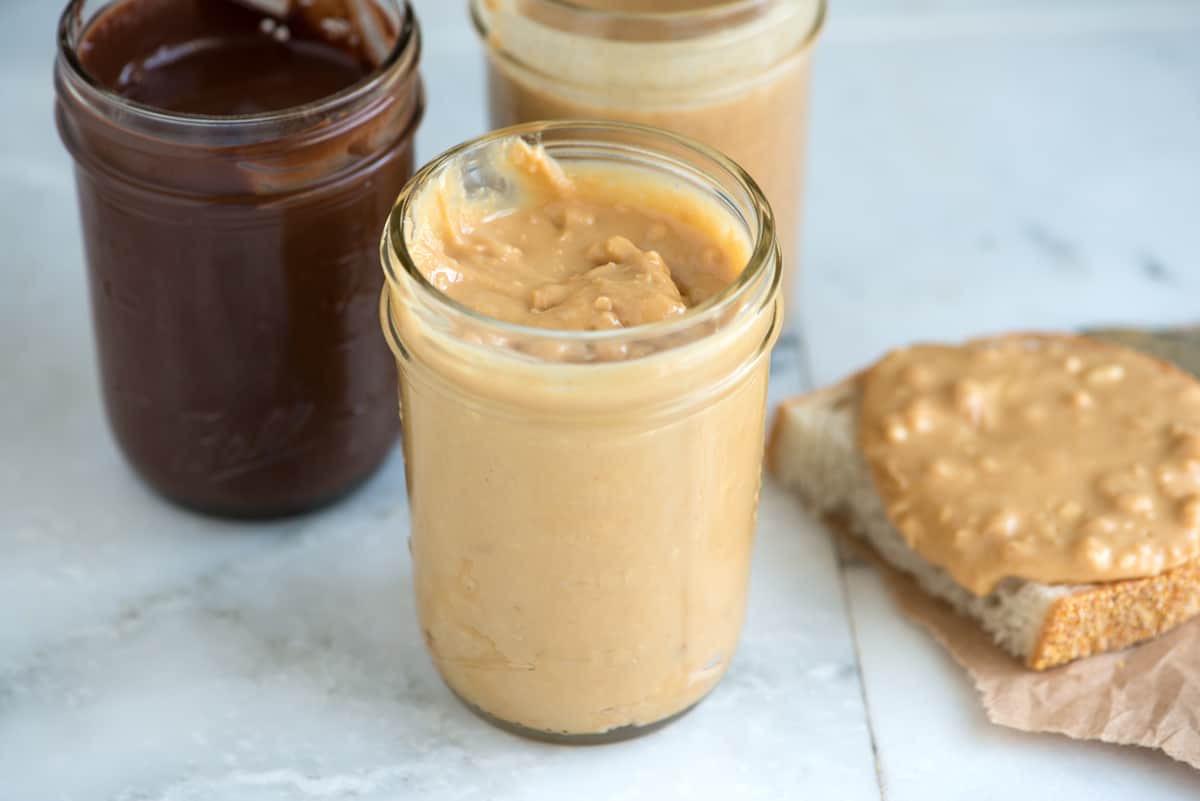
- Almond Butter: Substitute peanut butter, cashew butter, or sunflower butter. This helps to make the glue that holds our bars together. I love homemade almond butter when I have it on hand.
- Olive Oil or Melted Butter: I used olive oil in the bars in our photos, but butter works just as well! Coconut oil is an option, too!
- Egg: Originally, I didn’t add an egg to this recipe, but over the years, I’ve started and don’t plan on going back. It helps the bars hold together and gives them a bit more moisture, leading to a slightly chewier bar. You can substitute it with a flax egg.
- Vanilla, Salt, and Cinnamon: These make our bars taste amazing. Feel free to use your favorite baking spice blends like apple pie spice or pumpkin spice.
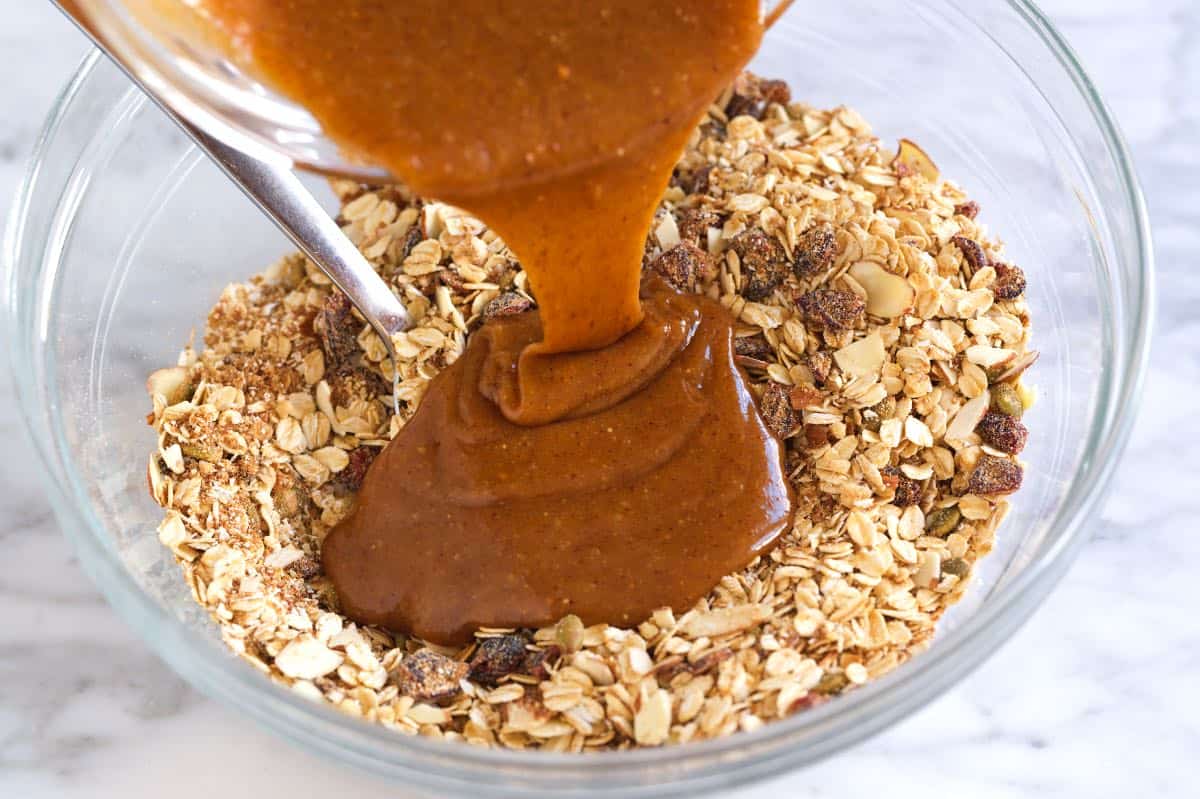
These baked granola bars really are so simple for you to make at home. You’ll mix the wet ingredients until smooth, then pour them into a bowl with the oats, nuts, fruit, and sugar. Make sure everything gets a really good mix, and then push it all down into a baking dish. Push firmly to really pack it in there, then bake in the oven until light golden around the edges. Simple, good for you, and delicious!
Homemade Baked Granola Bars
- PREP
- COOK
- TOTAL
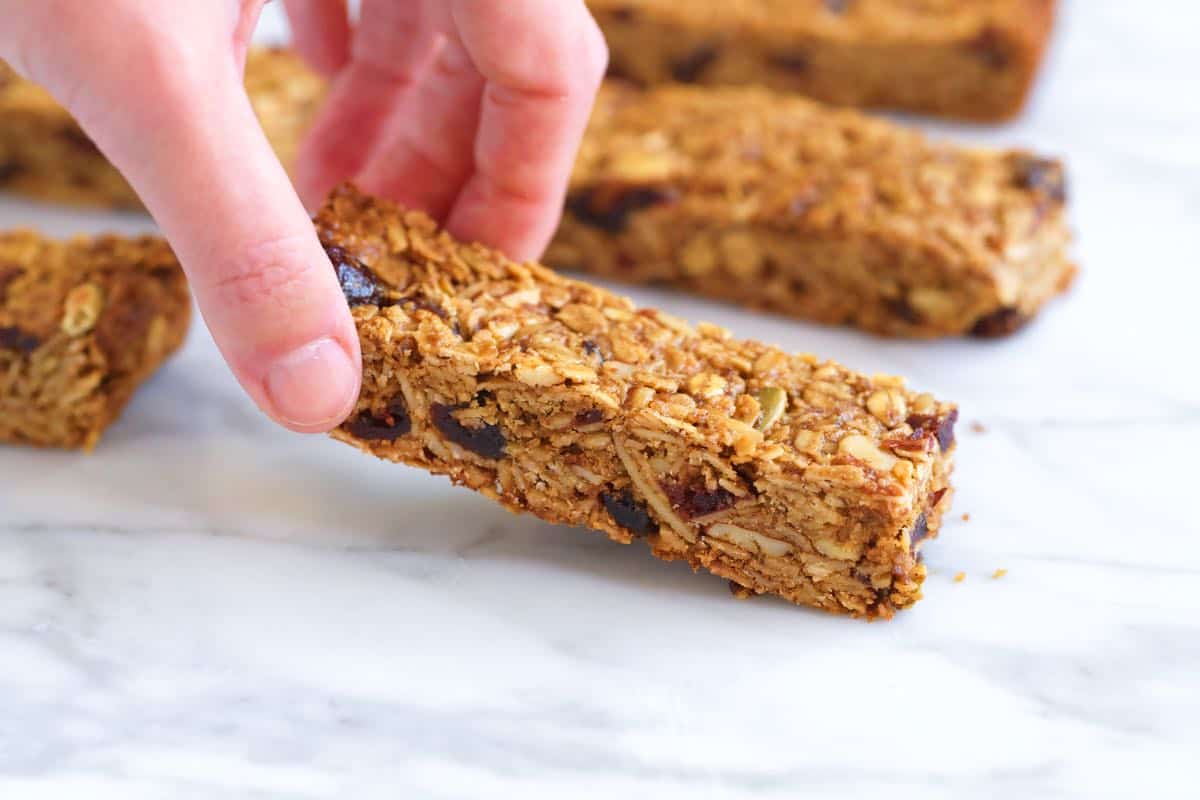
My family loves these baked granola bars (especially me). They turn out lightly toasted, hearty, and full of flavor. Feel free to swap in your favorite nuts, seeds and dried fruit.
One note with these: As with many homemade granola bars, these can crumble a little bit as you cut them. Cooling the bars completely (or even chilling them) helps you get clean edges when cutting them. Also, when chopping your nuts and dried fruit, chop them finely. The larger the piece, the more likely that will be where the bar will crumble a little. So, getting everything finely chopped before adding to the granola mixture is helpful! I use my blender for the nuts and pulse a few times before adding them. And finally, if they do crumble around the edges, you can usually just push them back together!
You Will Need
1 ½ cups (160g) old-fashioned rolled oats
1/3 cup (35g) old-fashioned rolled oats, finely ground, or 1/3 cup oat flour
1/3 cup (65g) coconut sugar or granulated sugar, increase to 1/2 cup (100g) for sweeter bars
1/2 teaspoon sea salt
1/4 teaspoon ground cinnamon
3/4 cup (85g) finely chopped nuts, like walnuts or pecans
1/4 cup (30g) pumpkin seeds, unsweetened dried coconut flakes, or a combination
1/2 cup (70g) chopped dried fruit
2 tablespoons flaxseed meal or flaxseeds
1/4 cup (65g) almond butter, peanut butter, or sunflower butter
1/4 cup (85g) honey or maple syrup
1/4 cup olive oil or melted butter
1 ½ teaspoons vanilla extract
1 tablespoon water
1 large egg or flax egg
Directions
1Preheat the oven to 350°F (180°C) grease and line a 9×9-inch square baking pan with parchment paper, leaving an overhang on two sides to make removing the granola bars easier.
2In a large bowl, mix the rolled oats, finely ground oats, sugar, chopped nuts, pumpkin seeds, dried fruit, and flaxseed meal.
3In a separate bowl, whisk the almond butter, honey, olive oil (or melted butter), vanilla extract, water, and eggs until well blended. Pour into the bowl with oats. Mix until thoroughly coated.
4Transfer the granola mixture to the prepared baking pan, then press it down. Use a sheet of parchment paper placed on top of the granola mixture to help firmly pack it down into the pan. The better you pack it in there, the better the bars will hold together later.
5Bake the bars for 25 to 30 minutes, or until the edges are light golden brown and there is a little color on the top. Remove from the oven and cool in the pan to room temperature.
6Remove from the pan, and then cut into bars or squares. A serrated knife or heavy chef’s knife is helpful. If the bars are crumbling a little on you, chill them for about an hour and try again. I find these crumble slightly, but only where larger bits of nuts or dried fruit are, which you can usually push back into the bar.
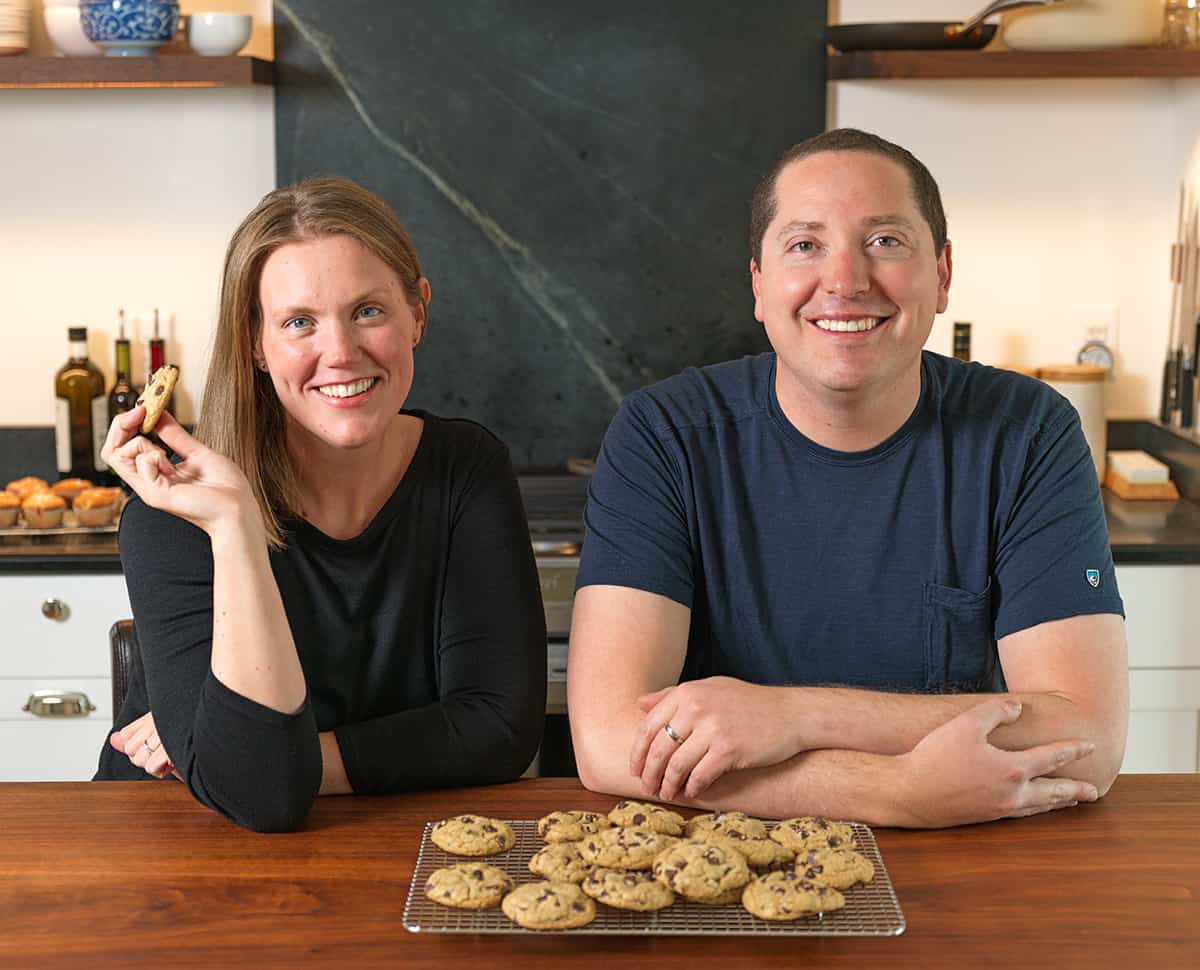
Adam and Joanne's Tips
- Storing: Keep these bars in an airtight container at room temperature for 1 week, or freeze them! They stay fresher in the freezer, especially when individually wrapped and placed into a freezer bag. You can remove them as needed, and they last in the freezer for up to a month.
- Sugar: As written (with 1/3 cup) these bars are not too sweet, but not as sweet as many generic store-bought bars. For sweeter bars, increase the sugar to 1/2 cup or more. Or, add chocolate chips to the granola mixture.
- Chocolate chips: If you add chocolate, I prefer the mini chocolate chips for the same reason I prefer finely chopped nuts (the bars hold together better).
- The nutrition facts provided below are estimates. We assumed olive oil.

Love this recipe the bars were delicious. Thank you!! 🙂
You are so welcome! Glad you enjoyed them 🙂
They are very easy to make and are very good 😊
I love these granola bars! Can I please get the calorie count per serving?
Hi Bernzy, So glad you loved the recipe. We just added the nutrition facts to the recipe.
Hi! Recipe looks great! Do you have the nutritional information? Would I be able to use Splenda brown sugar instead? Thanks?
Hi Mary, we have not tried using Splenda to make these granola bars so we don’t know if it would work or not. We did just add the nutrition facts to the recipe.
These are so good, I think I am going to start making these every week. They are so delicious and nutritious!
I’m curious as to if anyone has tried reducing the sugar in the recipe? I might use chocolate chips as an add in so was considering reduce the sugar about by half to 1/3 cup. Would this be a bad idea?
Hello! Thanks for great recipes:) After trying your chewy granola bars which turned out so good I really wanted to make a baked version as well, but got stuck by converting cups into grams. Could you please provide measurements in grams? Thanks!
Yum Yum Yum i can’t wait to try this one tomorrow morning but i will substitute butter with a healthier fat i don’t really like butter :>
You have a nice blog