Making crispy fried garlic is quick and easy. In under 15 minutes, you’ll have crispy fried garlic and a flavorful garlic oil. Add a garlicky crunch to stir-fries, salads, and pasta. Use the oil for cooking meats and veggies, stir-fries, or as a dip for bread.
Crispy fried garlic adds a garlicky kick to just about anything. You’ll also be left with a super flavorful garlic oil with many uses (I’ve included suggestions below).
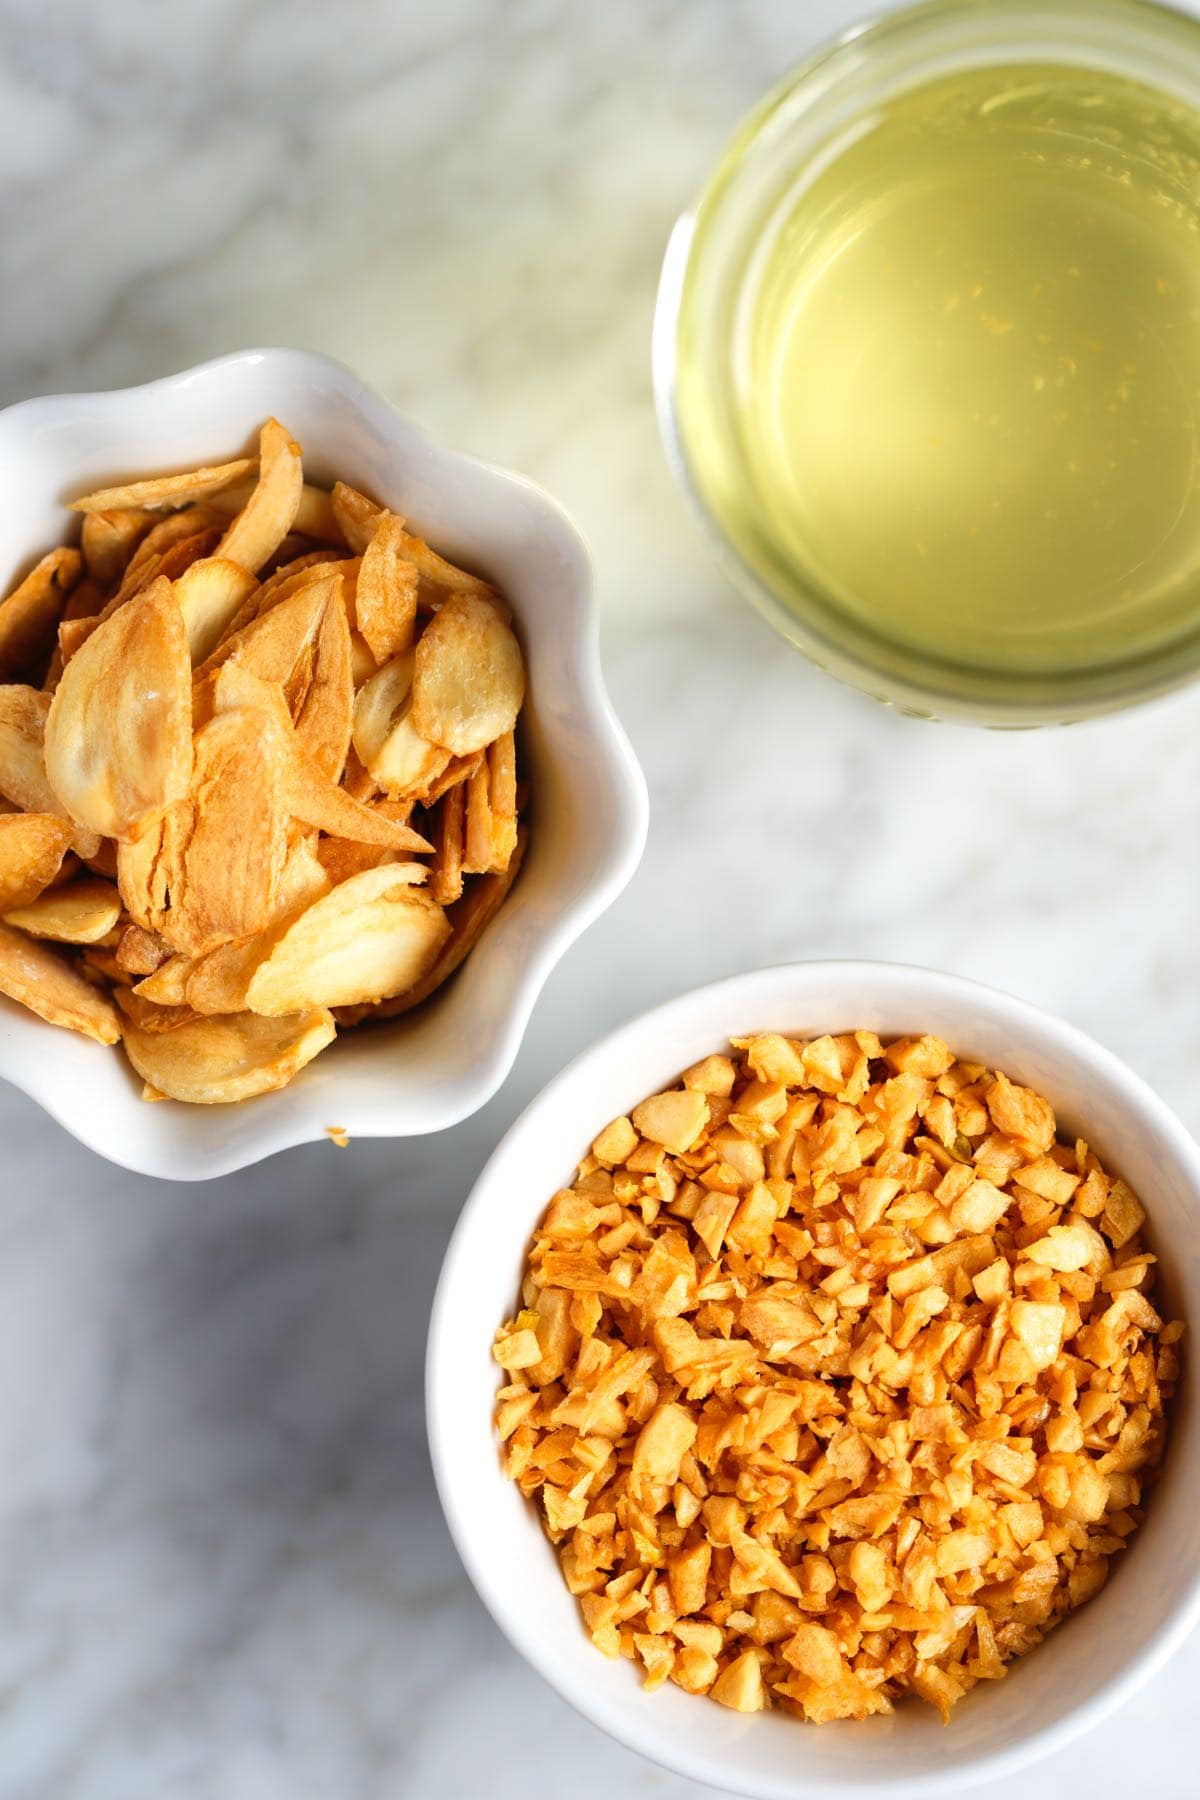
You can make fried minced garlic or fried garlic chips. I show both below.
How to Make Fried Garlic
You need two ingredients to fry garlic: Fresh garlic and a high-heat oil (I love avocado oil).
The key to making this delicious crunchy garnish is to start with finely sliced or minced fresh garlic. I love using minced garlic when making this recipe, but you can also thinly slice the garlic into chips.
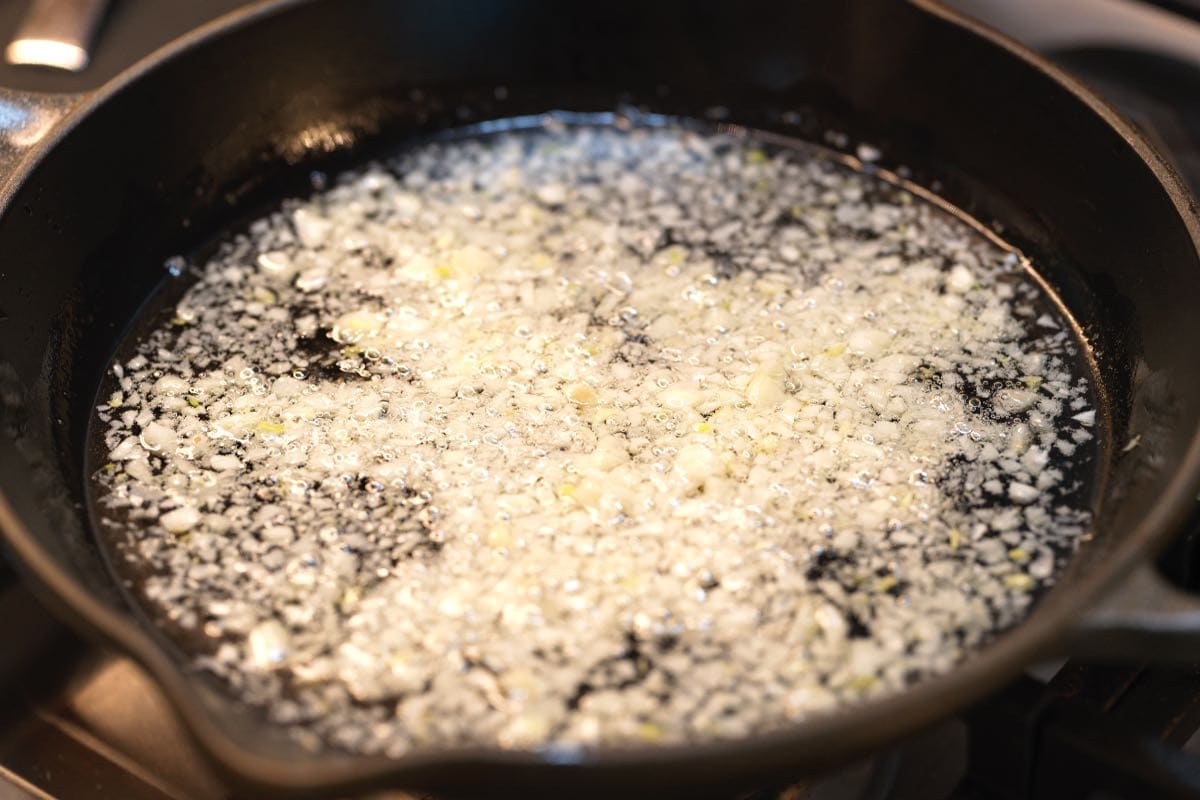
Once your garlic is ready, gently heat some oil in a small frying pan or saucepan. You do not need much oil, just enough to cover the garlic. Keep the heat low to medium, as garlic can quickly turn from golden brown to burnt, and burnt garlic tastes bitter.
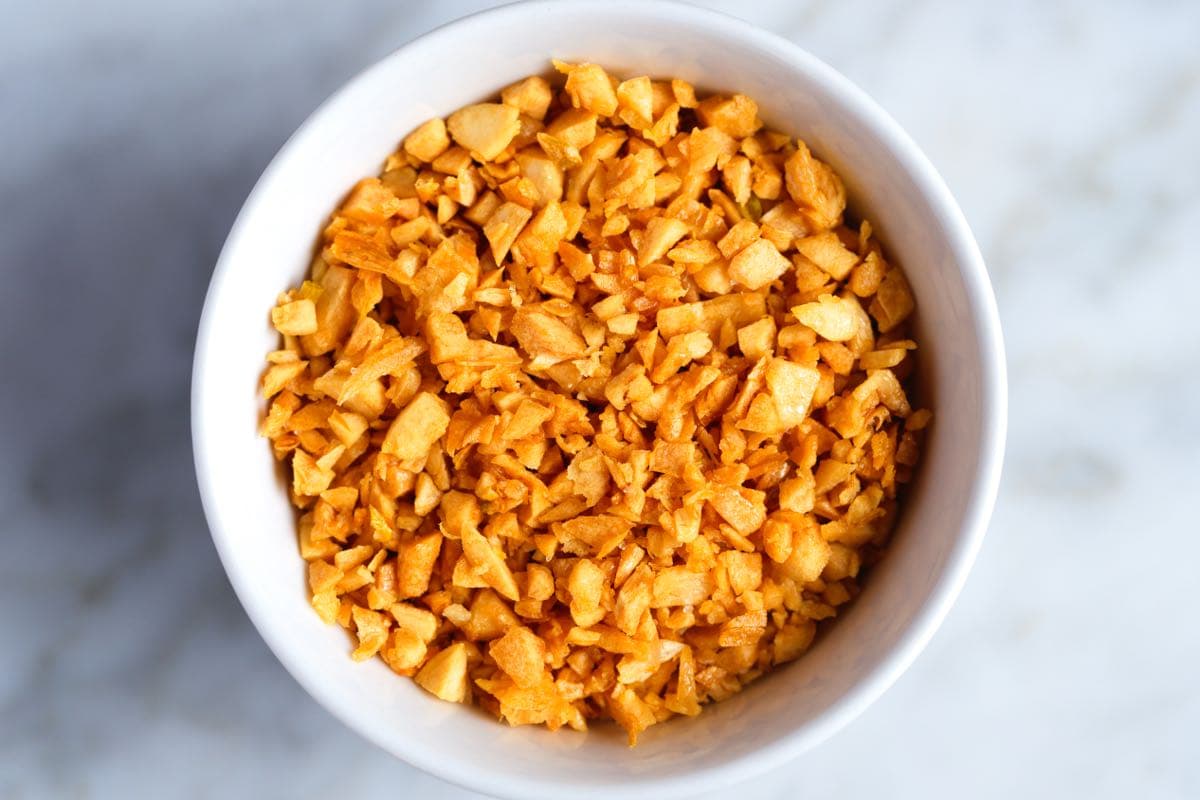
Be patient as you watch, and stir the garlic until it barely starts to turn light brown. When the garlic is a pale golden color, transfer it and the oil to a colander set over a bowl, then onto paper towels to drain even more.
You now have homemade crispy fried garlic to sprinkle over your favorite dishes, adding an addictive garlic flavor and a lovely crunch.

How to Use Fried Garlic
Fried garlic is a popular garnish for dishes in Southeast Asia (known as krathiem jiaw in Thai and tỏi phi in Vietnamese). We love it so much that we wanted to have it on hand at home. Adam and I reach for it often and love the garlic crunch it adds.
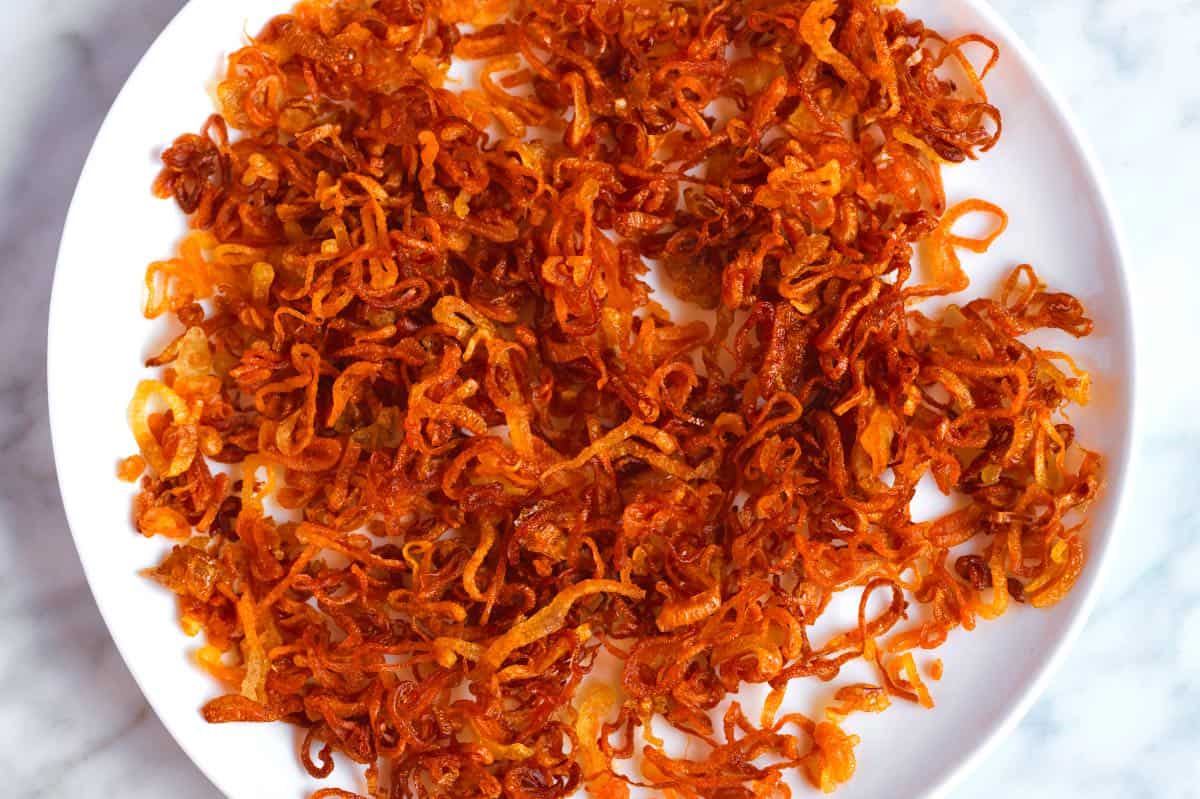
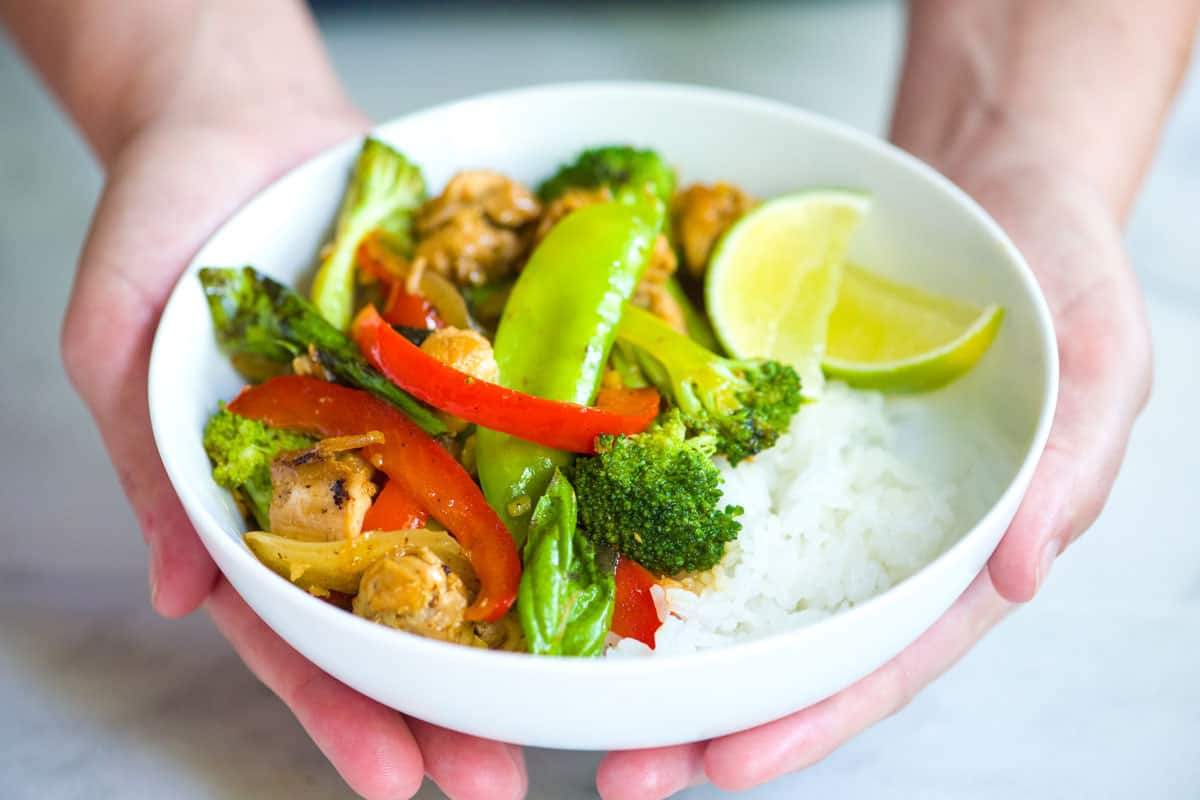
I throw it over rice, salads, cooked vegetables, stir-fries, curries, and even tacos. Whenever we think a dish needs an extra savory pop of flavor, we reach for crispy fried garlic. Try these crispy fried shallots if you’re looking for something crunchy but a bit sweeter.
How to Use Garlic Oil
Don’t forget the oil you used to cook the garlic. We can save it! Since it’s been sitting with the garlic over low heat, the fresh garlic flavor has seeped into the oil, making homemade garlic oil! Let the oil cool down, and then store it in an airtight jar in the fridge for up to one month. Here are a few of my favorite ways to use it:
- Whip up some garlic rice — swap the oil for garlic oil in this cilantro lime rice or make garlic fried rice.
- Make garlic-infused vinaigrettes and dressings. Swap the olive oil in your favorite dressings and use garlic oil. For example, I love using garlic oil when making our homemade Italian dressing.
- Make garlic mayo! Use our homemade mayonnaise recipe, but swap the neutral oil for some or 100% garlic oil. We also have a recipe for vegan mayo if you prefer it.
- Use the garlic oil to make more fried garlic. There’s no need to start with a new batch of oil when making fried garlic again.
- Use the oil to sauté your favorite vegetables. I love sautéing cabbage, green beans, and zucchini. Garlic oil would take them to the next level.
- Toast or grill bread with the oil. I especially love this idea when making tomato bruschetta.
- Drizzle over homemade pizza, I love it with this Margherita pizza
My Garlic Tastes Bitter, What Should I Do?
Sometimes, fried garlic can take on a bitter flavor. Stopping the garlic from overcooking is essential to prevent it. However, it can taste slightly bitter even when you’ve done everything perfectly. Serious Eats has an intelligent tip to fix this (and since learning about it, we have tried it and love it).
At the same time as seasoning the cooked garlic with salt, dust on some powdered sugar (you don’t need much). Since you are using powdered sugar, it dissolves and balances any bitterness without making it taste sweet. Pretty clever.
More Garlic Recipes
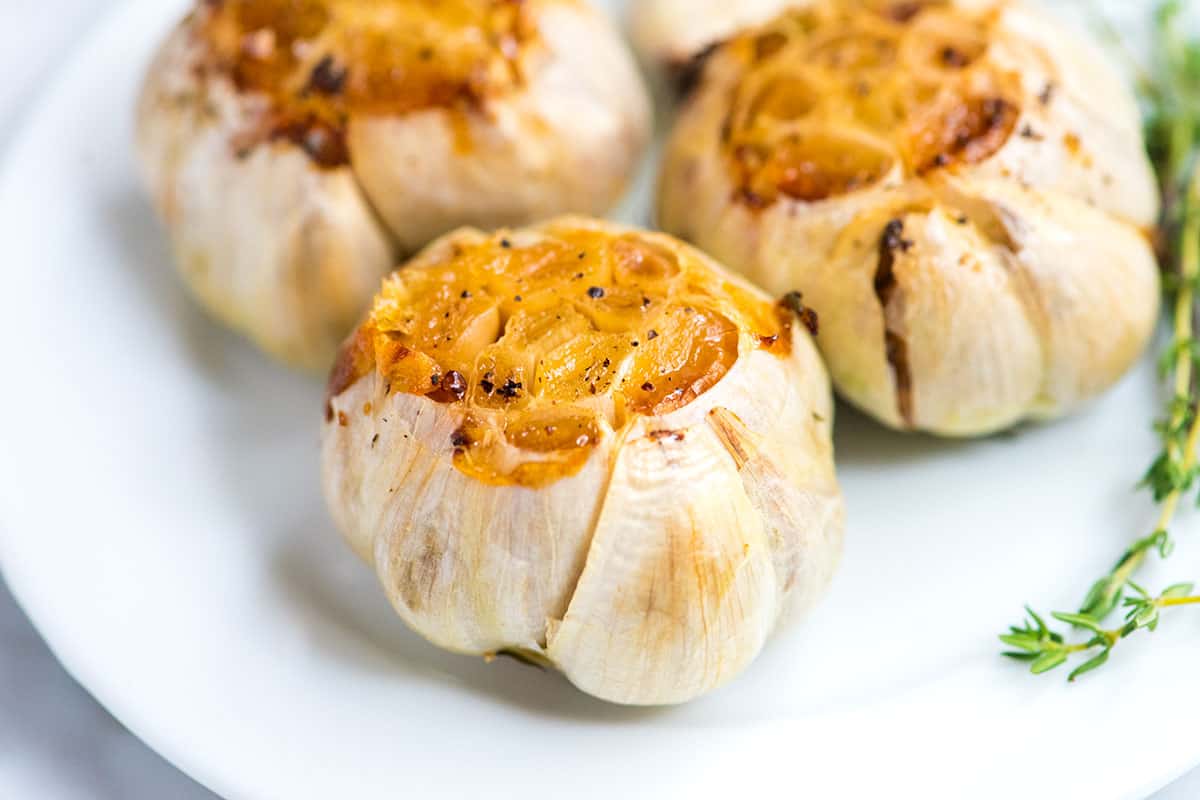
If you love garlic, try our oven roasted garlic. We roast whole heads of garlic in the oven until soft and sweet. Or, try making our creamy garlic aioli. It’s divine. We also have a recipe for crispy fried shallots, which I love adding to salads and soups.
Easy Crispy Fried Garlic
- PREP
- COOK
- TOTAL
Making crispy fried garlic is quick and easy. In under 15 minutes, you’ll have crispy fried garlic and flavorful garlic oil. Add a garlicky crunch to stir-fries, salads, and pasta. Use the oil for cooking meats and veggies, stir-fries, or as a dip for bread.
You Will Need
20 garlic cloves, peeled and trimmed
1/2 cup (120ml) vegetable oil, canola oil, or avocado oil
Fine sea salt
Directions
1Mince or thinly slice the garlic. When preparing the garlic, you have two choices: minced garlic or thinly sliced garlic. We prefer minced garlic, but fried garlic slices are beautiful. It is easier to control the browning process of minced garlic, so we recommend starting with minced if you have never tried this recipe before.
2Set a strainer over a medium bowl and set aside, ready to drain the garlic once it has cooked.
3Pour oil into a wide skillet over medium heat. Add one small piece of garlic to the oil and watch for little bubbles to form around it. When they do, the oil is ready.
4Remove the test piece of garlic, discard it, and then carefully slide the remaining garlic into the oil. Use a wooden spoon to move the garlic around the pan.
5Continue to stir the garlic and cook until it turns a pale golden color, 3 to 5 minutes. Don’t leave the stove while the garlic is in the oil, as it can brown quickly (making it taste bitter).
6When the garlic is a pale golden brown, pour the garlic and oil through the prepared strainer set over a bowl. Do this quickly so that the garlic does not overcook. Do not allow the garlic to sit in the oil longer than needed. It will continue to cook the garlic.
7Spread the drained garlic on clean paper towels and lightly season with salt.
8When cool, transfer the garlic to an air-tight container and store it in the refrigerator for up to one month. It can also be stored in a cool, dark area of your kitchen. You can also keep the garlic oil in a jar, in the fridge, for up to one month.
Adam and Joanne's Tips
- Storing: When the garlic has cooled down, you can transfer it to an airtight container and keep it in the refrigerator or a cool dark area of your kitchen for up to one month.
- The facts provided below are estimates. We have assumed the garlic absorbs about 1 tablespoon of oil.


I love all your recipes especially the “Kimchi” . hmmm love it.
Yay! We love our Kimchi recipe 🙂
I haven’t tried this yet, but plan to in the near future. I found some garlic chips at my local veggie grocer, but it is different than what you offer here. The garlic cloves are whole cloves, crispy and lightly salted, just delicious. Have you tried making this with whole garlic cloves? If so, how did it turn out? Thank you for your time.
Hi Kim, I have only made this as shown (chopped or sliced), not whole. I do not think you will be able to get the whole garlic to crisp up as well.
This turned out perfectly! I had never heard of fried garlic until I found a recipe that called for it. I’m all ready now for the new recipe.
That’s great, Pam! So happy that you found us.